")

")
7 Tips
In my last blog post, I discussed the benefits of staging your home for real estate photography. Preparing your home as a universally appealing space can be tricky and expensive. However, there are easy and cost-effective tips for staging your home for great real estate photos. Here are my home staging tips for great real estate photos:
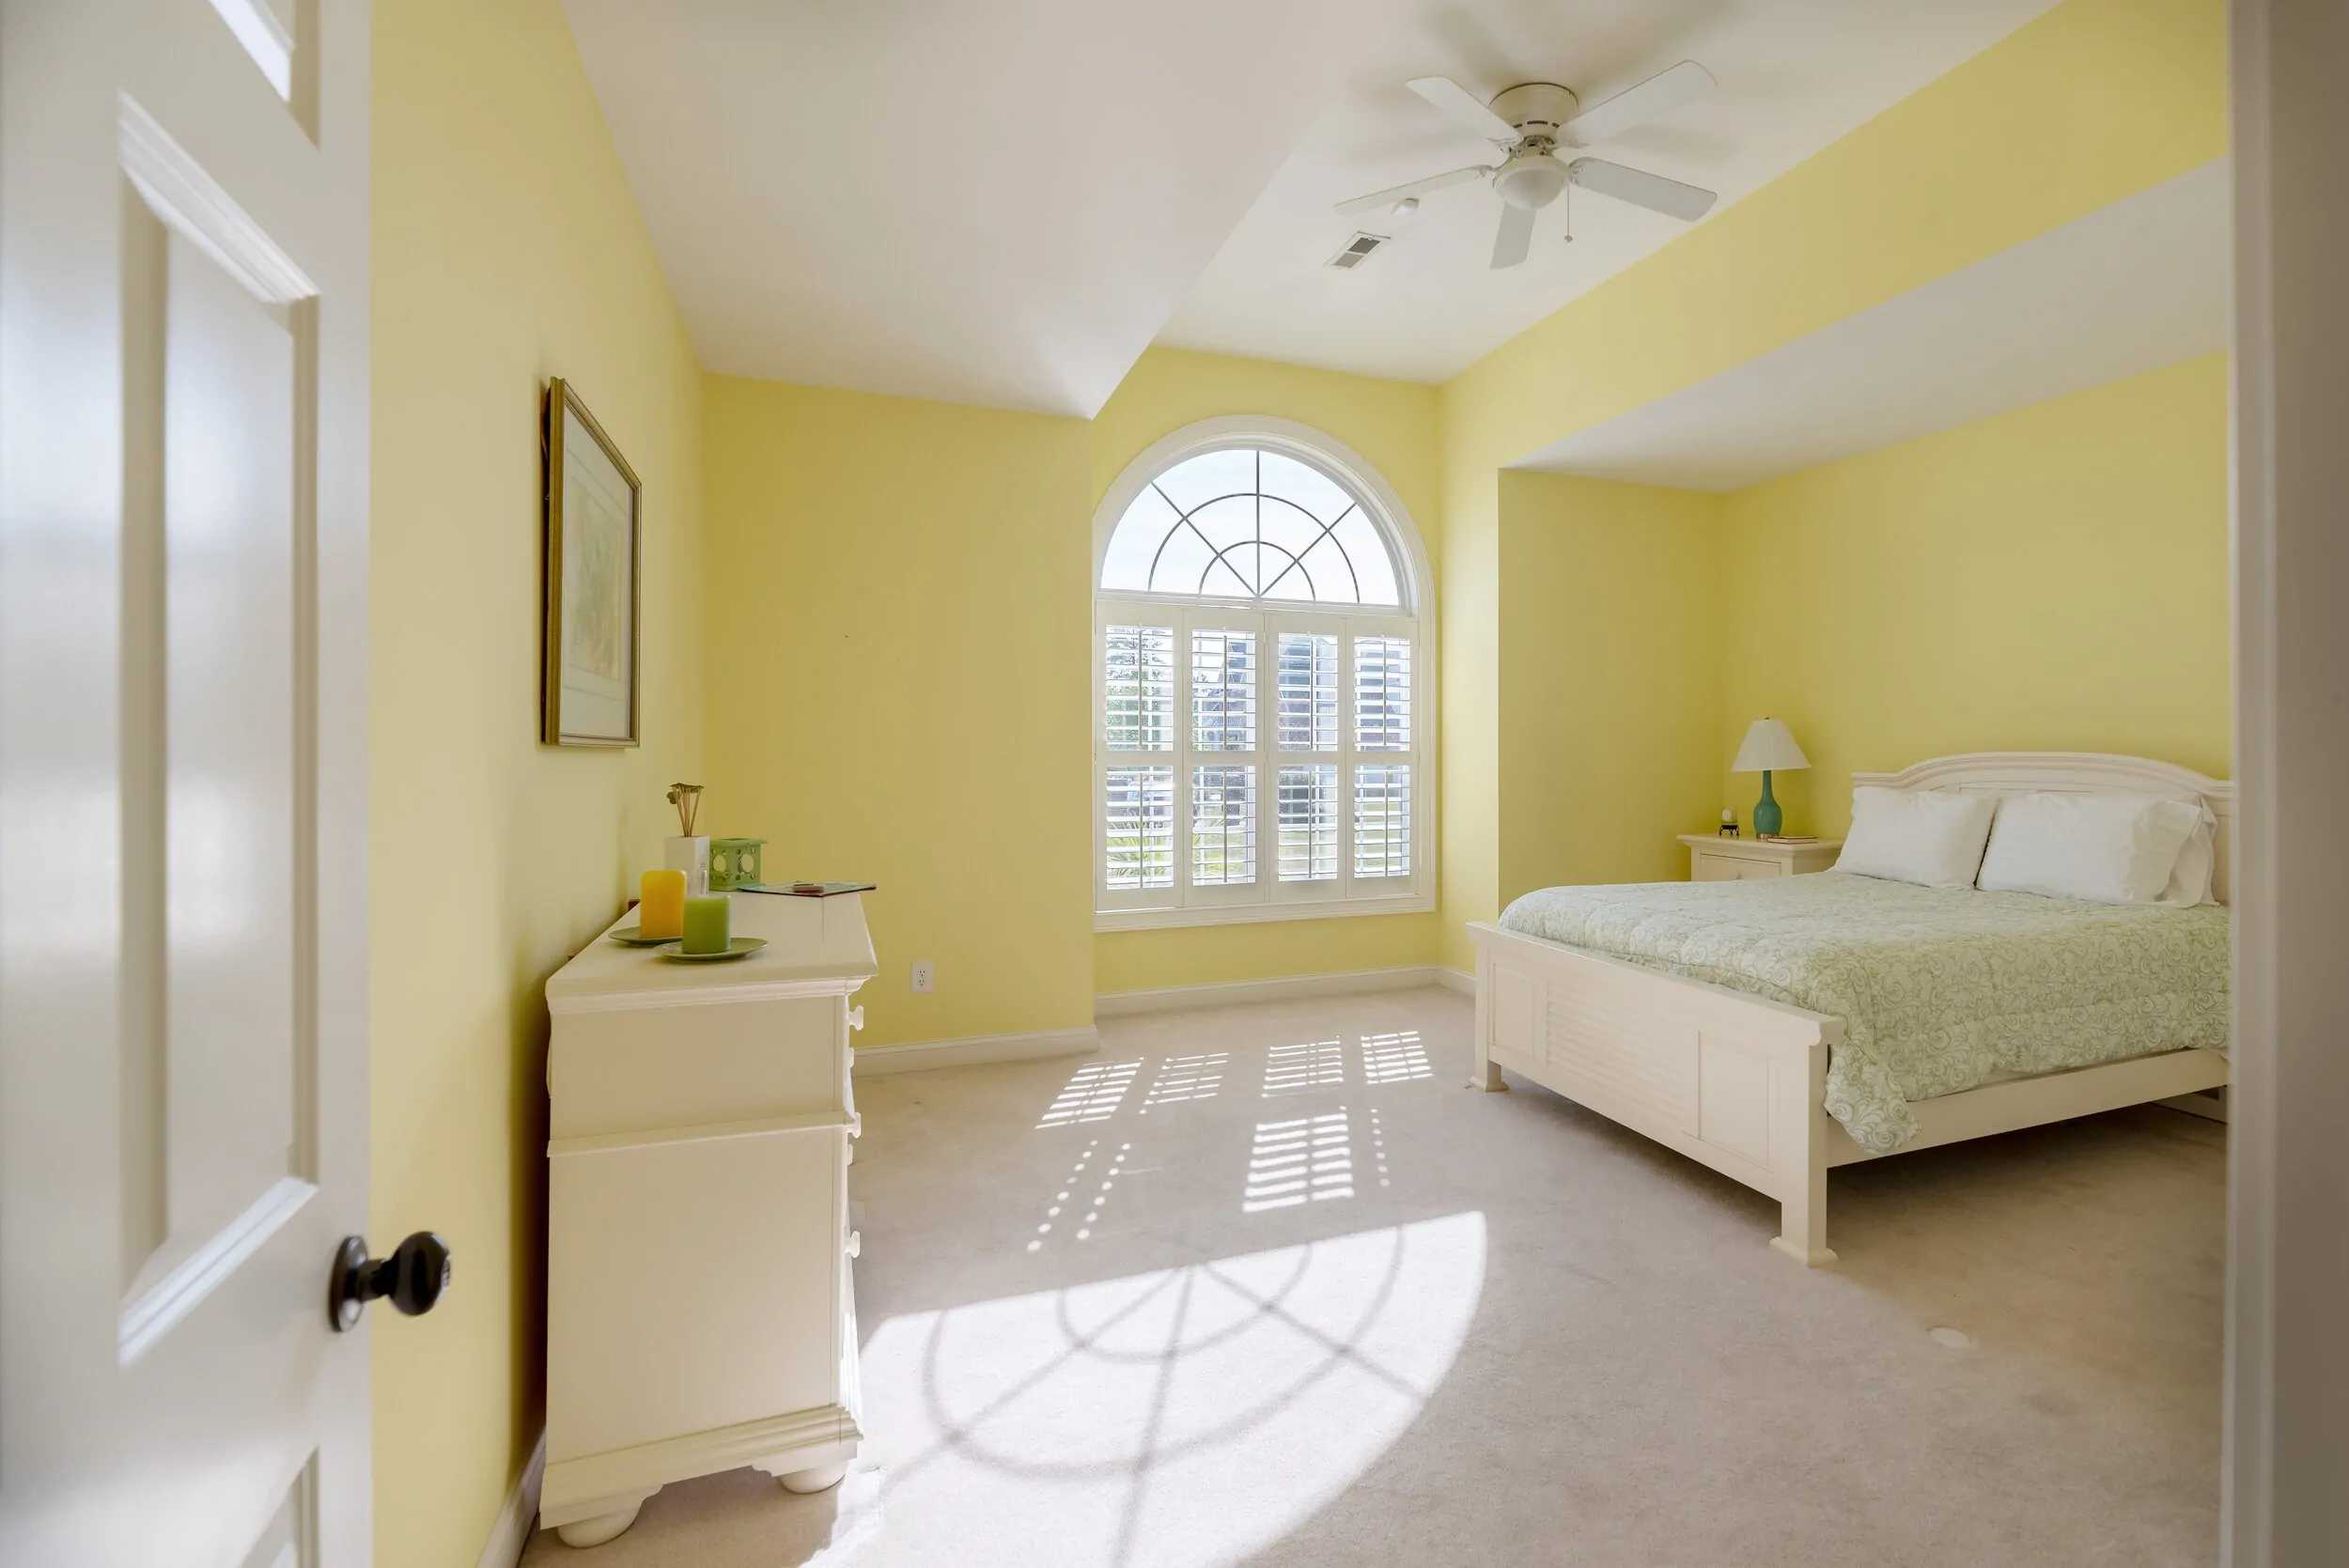
1. Fresh paint
Wall scuffs and marks stand out like a stain on a white shirt. A fresh paint job is an easy tip and starting point for staging your home for great real estate photos. Painting could be delegated to professionals; it will cost more, but it may be worth your time and effort. You could certainly do it yourself for the cost of paint and supplies. Either way, it is very effective and necessary to prepare your home for photos.
You should especially consider repainting any rooms with dark or unique shades of color with a more universal shade/tone. Because light-colored rooms open up a space, consider that when choosing a color to revamp your house. Please take the time to patch nail holes and remove scuff marks and wear and tear. Let us explore more home staging tips for great real estate photos.
2. Get rid of the clutter
This might be the most important tip I have for you. As someone who has sold and bought two homes in the past five years, I cannot stress enough the importance of a nice and clean look your home should have in real estate photos. There are homes we did not even want to visit because, in their real estate photos, we saw so much clutter that we could not envision their space’s full potential.
This tip is not only the most important but also easy and affordable. I suggest you remove all mail and random papers from all surfaces. While your home is on the market, put away knick-knacks and other items that have accumulated in the home. Store toys and other items on the floor neatly or store them. If you have a fireplace mantel, limit the items to four or five. For photography purposes, put these items away in a closet or out of sight.
When preparing to show your home, consider renting a small storage unit for a short time so that the closet is not filled or overflowing when potential buyers come for a tour. When looking at homes, I took a peek or two in the closets; I’d have been foolish not to. In short, people will be discouraged if they see your storage space struggling to store things. How will their things be stored? If it’s not neat and manageable, consider renting a storage unit.
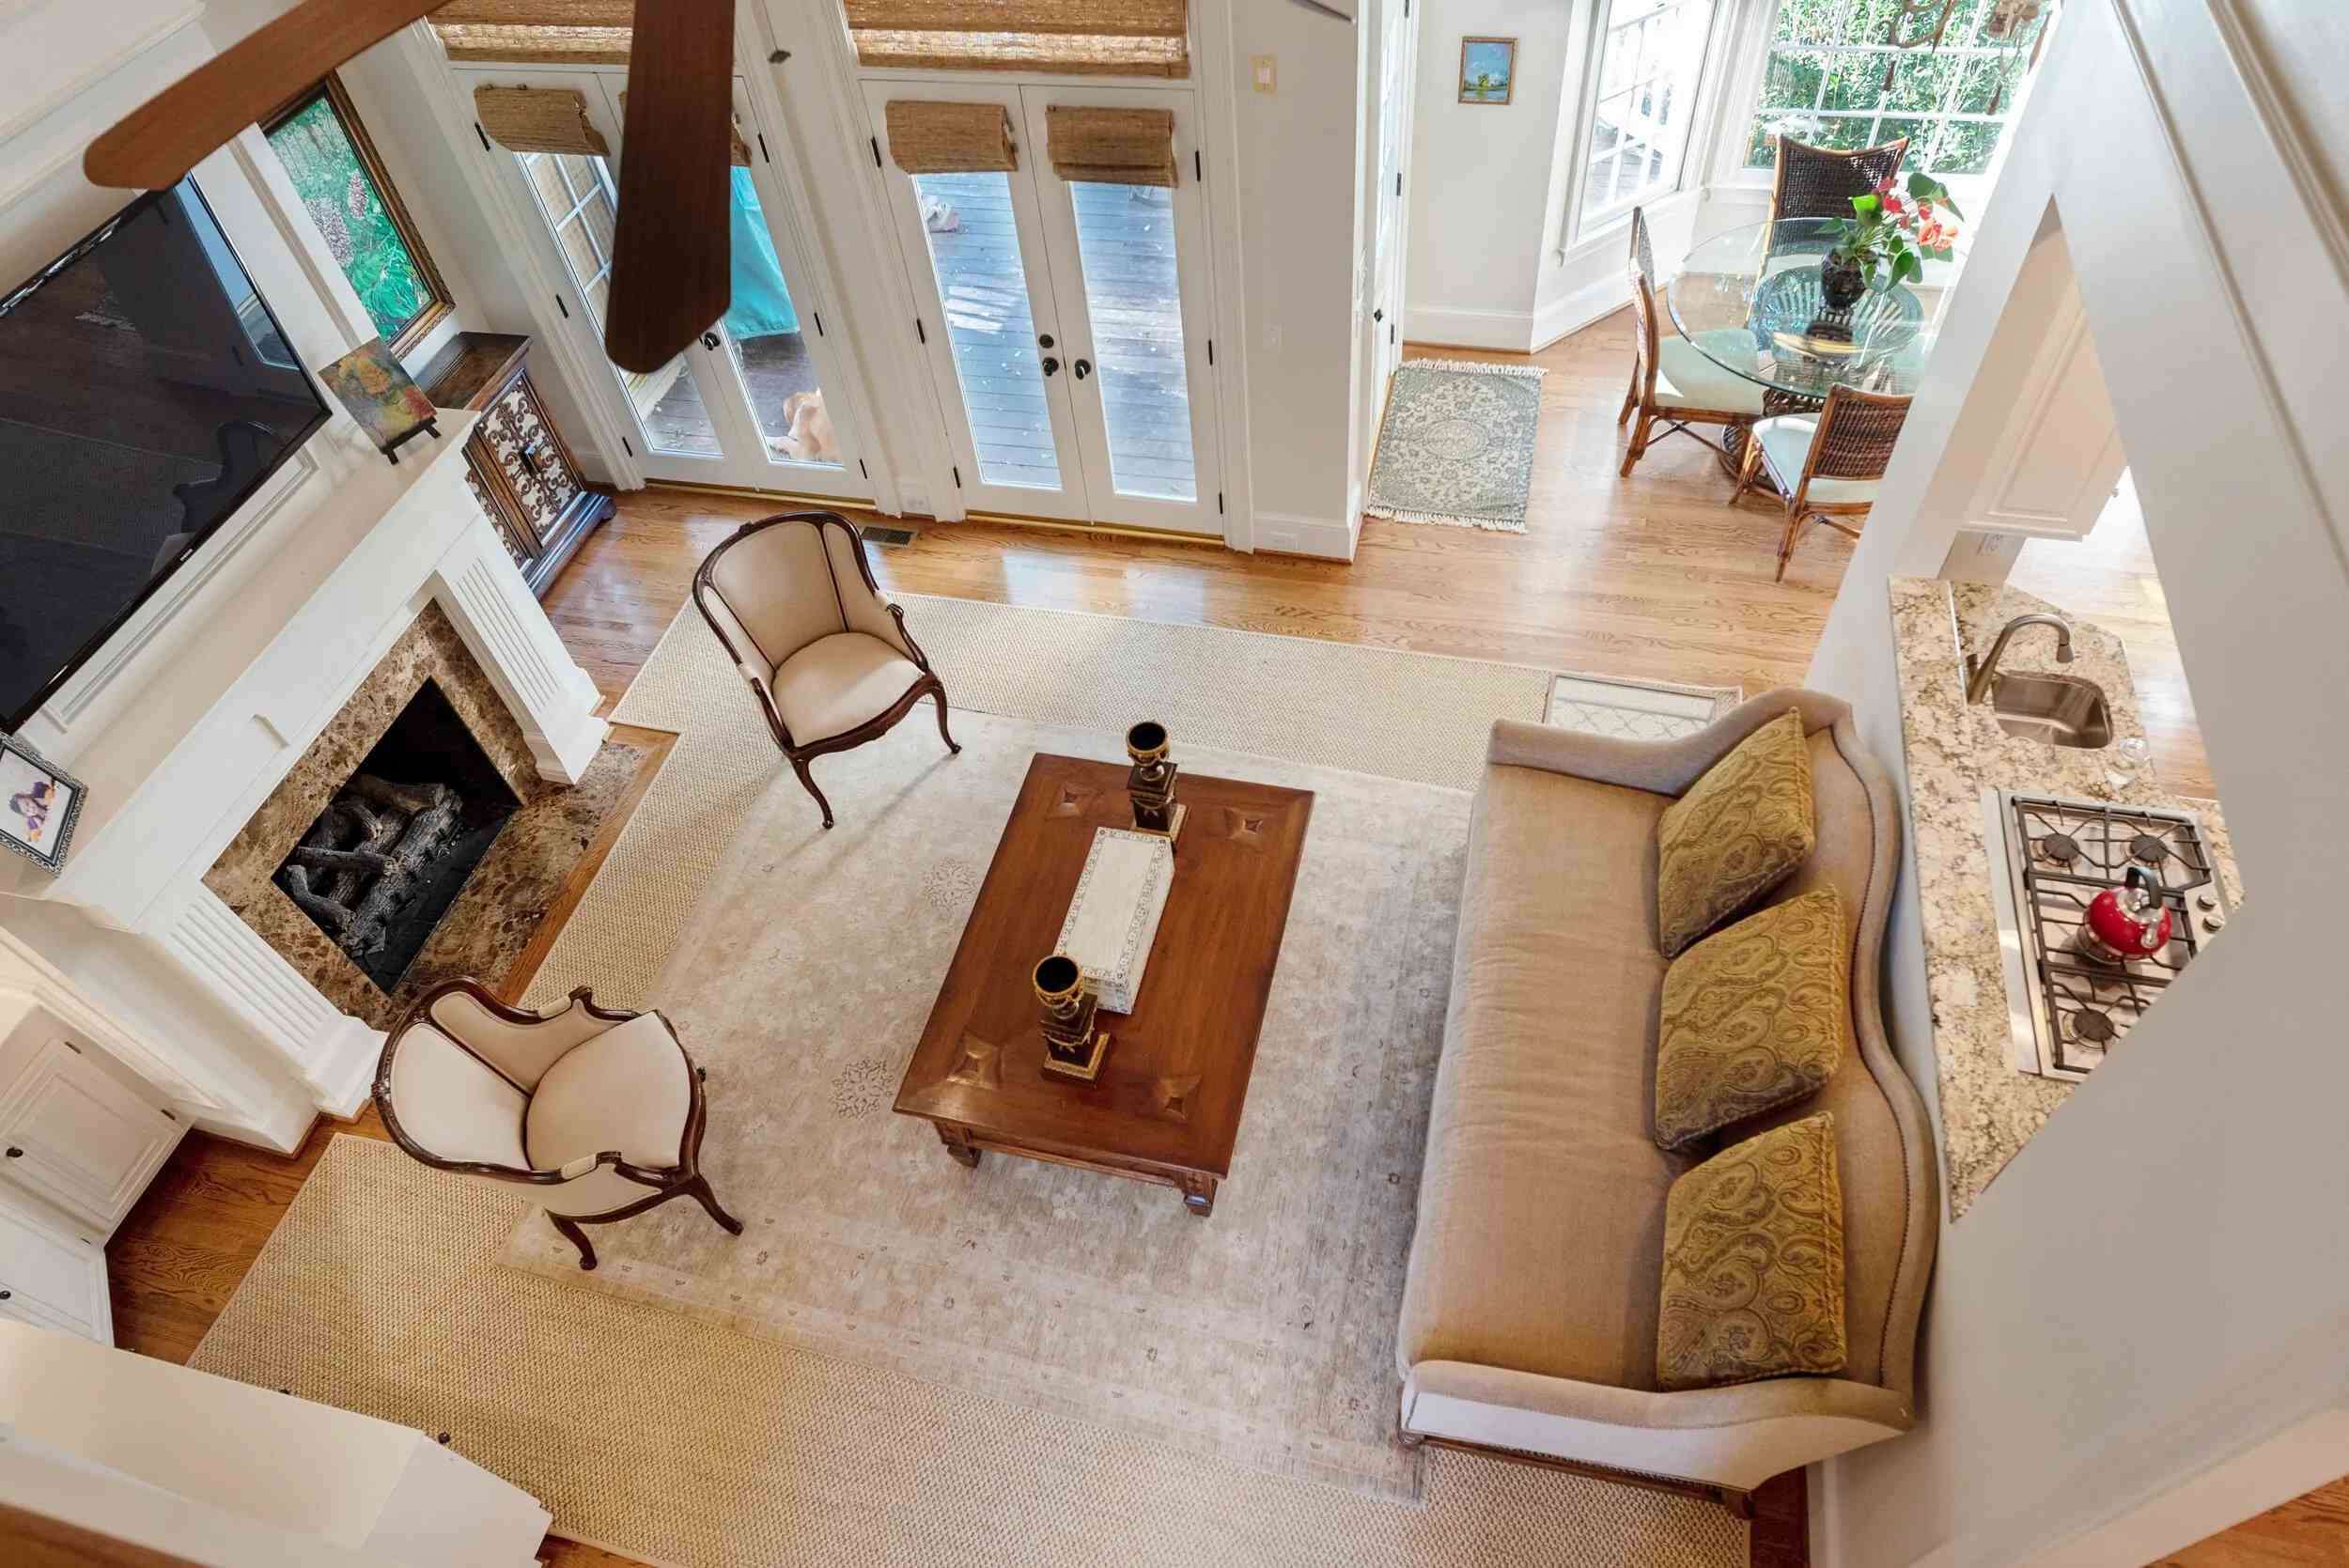
3. Furniture can look like clutter too
Clutter also applies to furniture.
Look around with an objective eye and ask yourself some of these questions:
Do I have too many side tables?It happens; I’ve seen it. They are super useful, but one room can have too many. Will your living room look like a side table zoo? If so, take out a few. As a rule, try to remove one piece of furniture per room.
Is your arrangement of furniture obstructing an otherwise lovely view?It can translate poorly in a photo, however logical it may be to place furniture a certain way (because it makes more sense for your needs). Remove items that obstruct light or lovely views from doors or windows.
Is your furniture a mismatched hodge-podge of styles that are inherited and aren’t current?Consider updating a few pieces that you might need for your new home. If that option is not within your budget, consider finding used furniture that needs a fresh paint job or resurfacing. You can always resell the pieces if you aren’t interested in keeping them. Family and friends are also a great resource for lending you a few nice pieces while you are in the home-selling process. If that is a possibility, ask if you could borrow a few items to pull your space together in a way that is visually appealing to a stranger. Fortunately, because we are trying to keep the clutter down, there is no need to borrow a lot.
Do your chairs have child seating accessories?This one is easy: make space for the booster seat in a closet so that you can easily stow it away when it’s time to photograph and when it’s time to show.
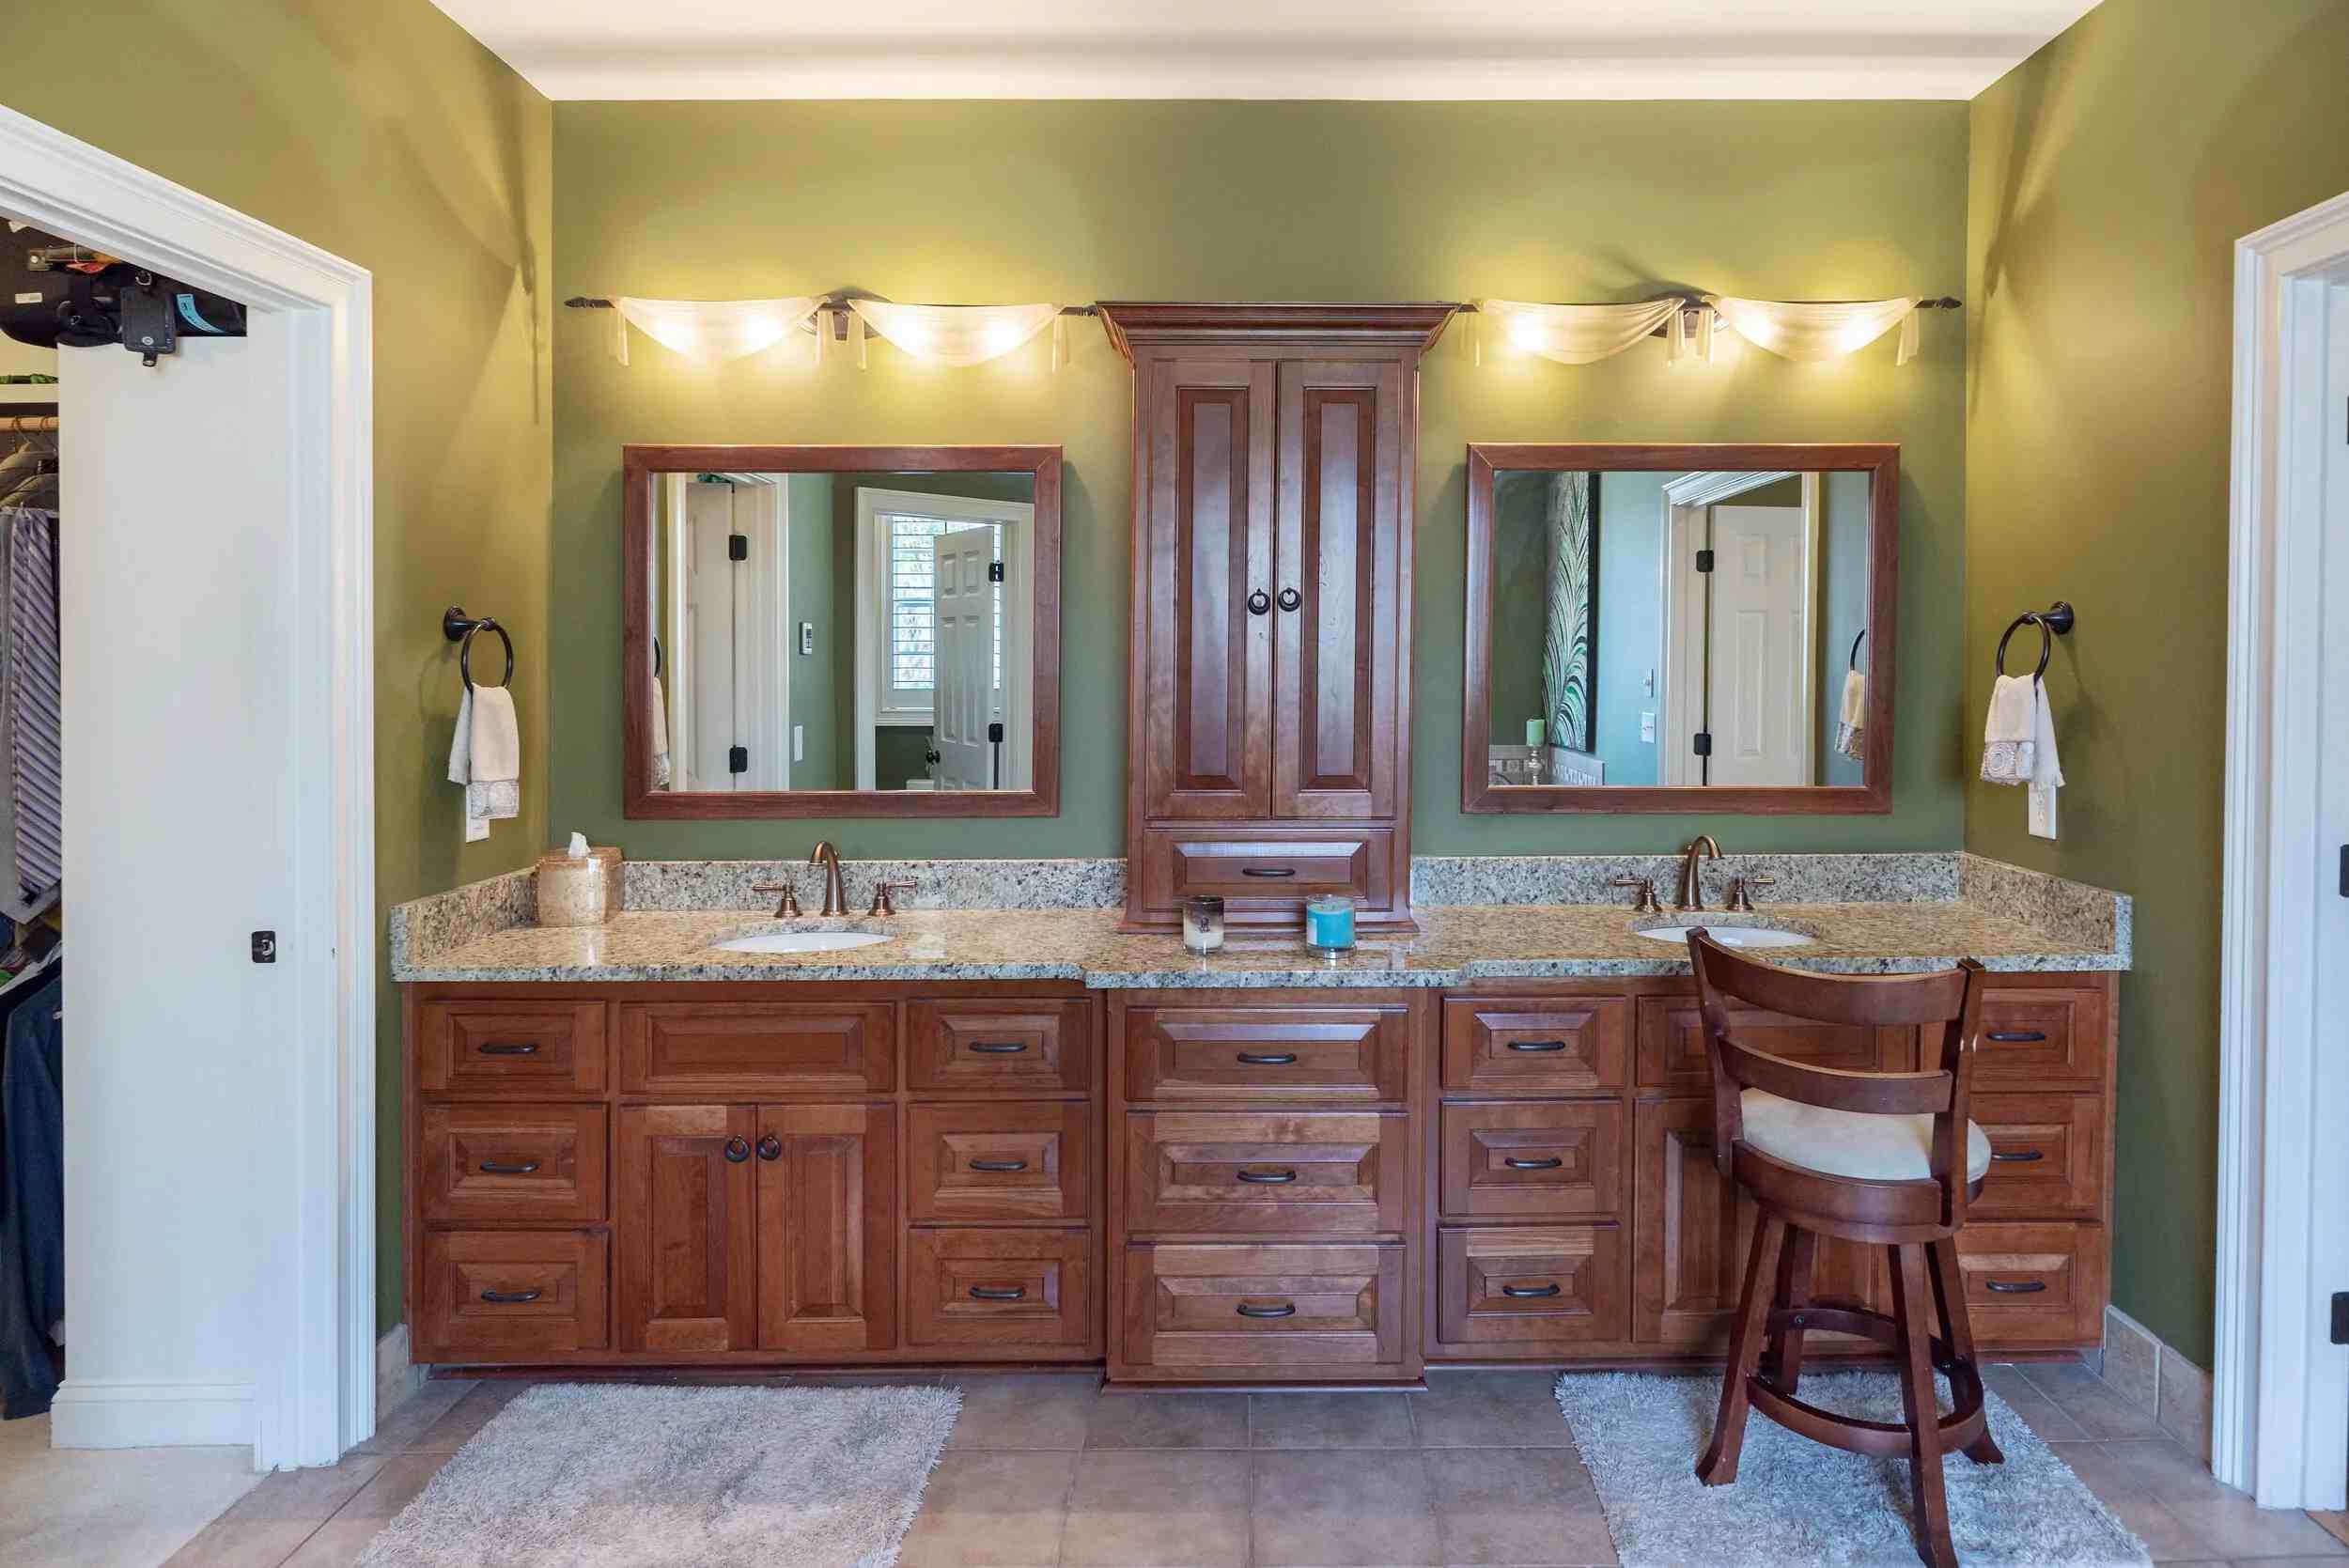
The bathroom pictured above is lovely. However, for the purposes of staging for real estate photographs, I would remove everything from the counter, remove the chair, and shut all visible closet doors. While I wouldn’t call this clutter, I would say that those items are slightly distracting.
Don’t OverspendYou could spend quite a bit of money on furniture for the stage. Don’t invest too much in these staging pieces unless you will be able to take them with you to your new home. The most important thing to take away from here is to start thinking of minimizing the items on surfaces that may distract from the best parts of the space you photograph.
4. Pops of Color
Adding some color into the room in lieu of very personal pieces is an easy way to give the room some personality and warmth. And it’s a practical staging tip for great real estate photos. Keep your palette neutral and bring the room together with a few pops of color. If your couch is lime green, maybe opt for a nice slipcover in a neutral tone and shop for throw pillows that will provide a touch of color. Pick out some lovely throw pillows or a nice colorful throw if your couch is already beige, brown, white, or gray.
Stick with one color story per room. A color story could be shades of one color, like greens or blues, or the color scheme from a beautiful sunset.
If you go to Pinterest and type in the color story, you will have more than enough inspiration!


The Lilly pictured above is an image that I saw on Pinterest that tells a color story about the many shades of this flower. If you need inspiration, don’t fret—it is everywhere. I have also created this fun Pinterest board for some home staging and decorating inspiration.
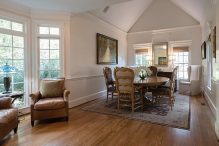
5. Design the room around the best angle
Pick the angle from which you will most likely photograph the room, and use that focal point as a guide for styling your furniture.
Strive for symmetry. People find symmetry appealing; a balanced feel for a room is an important goal. Make a strong effort to create that balance when deciding where to put the couch, coffee table, and other seating.
6. Depersonalize
Your home is bound to accumulate sentimental, inherited, or hand-made items that may not initially be on your list of items to stow away. Because we are such visual creatures, especially when looking at a home for the first time online, we subconsciously form opinions on a home’s potential based on visible personal items in real estate photos. Some people see potential; others see something they aren’t into and may lump the whole house into that category. Put some of the personal items away for your new home. To sum up, give the person or persons wanting to buy your home every possible way to see themselves in it.
This applies to artwork, especially one that may be explicit or different. Don’t be the nude house or that house. Art is fantastic, but to sell and photograph, it’s best to cater to everyone’s sensibilities and not let the artful nudes steal your house’s thunder.
7. Out with the old
Older homes have so much charm and character. Subsequently, they may also have outdated light fixtures, door handles, and cabinet knobs. Replace a light fixture that needs it or cabinet knobs that are from the ’80s. Small changes like this can really update the spaces you will photograph.
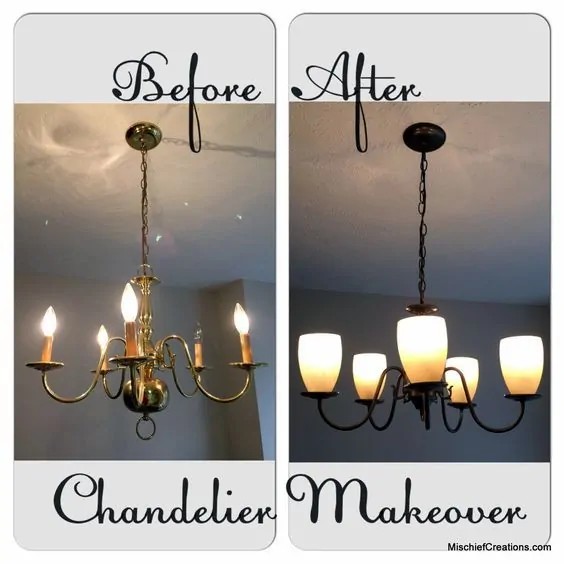
It’s amazing what replacing a light fixture in a room can do to revamp the space! In conjunction with a little fresh paint, updating fixtures can transform a room’s entire look. If you have the time and patience, you could buy or do a DIY project.
Finishing touches
I hope you have enjoyed my 7 Tips for Staging Your Home for Real Estate Photography and that you have found my home staging tips for great real estate photos useful. Before you go, don’t forget a few more things to consider:
Don’t stage your home and forget the fine-tuning!
Clean your home well or invest in professionals to clean it for you.
When you look out the window, don’t see a reupholstering project staring back at you or anything that may distract from the view. Don’t take a photo of your beautiful street while your neighbor across the way is mowing the lawn or taking the dog out to use the bathroom.
Regarding bathrooms, please don’t make the bathroom look wonderful and forget to put the toilet lid down.
Consider hiring a professional photographer. You have invested all this time, money, and effort into staging your home to sell it. A professional photographer will come in and make sure the lighting is on point, the ratio of floor to ceiling is correct in the photo, and produce exquisite photos because of the care you have taken to get your home ready to be photographed.
In conclusion, first impressions are essential. Staging will provide a clean, well-thought-out visual standard for the entire house. The care and time you take to stage your home, however much you choose, will translate into your real estate photos. And there you have it – home staging tips for great real estate photos!