")

")
DSLR tutorial for beginners
With the summer vacation approaching, there will be so many photo opportunities for you to capture your summer memories – kids playing in the pool, kids running through the sprinklers, baking, creating art, jumping on the trampoline, making a mess, visiting places old and new, playing outside, riding a bike, playing in the mud, and many, many more. If your DSLR camera has been collecting dust, this DLSR mini tutorial on how DSLR cameras work is for you! I wanted to assemble this DSLR mini tutorial and encourage you to stop shooting in Auto Mode. Understanding how the Manual Mode works will make you a better photographer and increase your creativity. And, best of all, you will have unforgettable memories to cherish for the rest of your life.
Why shoot in manual mode?
Do you like the blurry, creamy background in photos? Would you love to capture and freeze the motion of your kids running or jumping? If you answered yes to these two questions, here are your reasons to learn how to shoot manually. Understanding how your camera works is a skill that will last you a lifetime and applies to any DSLR camera or video camera. Best of all, you will capture and create memories for yourself and your family and become a better photographer.
Exposure triangle – what it means and how understanding it can help you create magic.
The exposure triangle is just a fancy word meant to confuse you and make you run away in panic, but, in reality, it just means that there are three things you need to balance to take a perfectly exposed photo: aperture, shutter speed, and ISO. Changing one will always mean changing at least one more to achieve the perfect balance. And, with the help of your light meter (you know, the line with little lines on it that you can see at the bottom of your viewfinder? No, doesn’t ring a bell? No worries, more on that another time), you will always be able to achieve a perfect exposure. Now, let’s take a look at what each of these means.
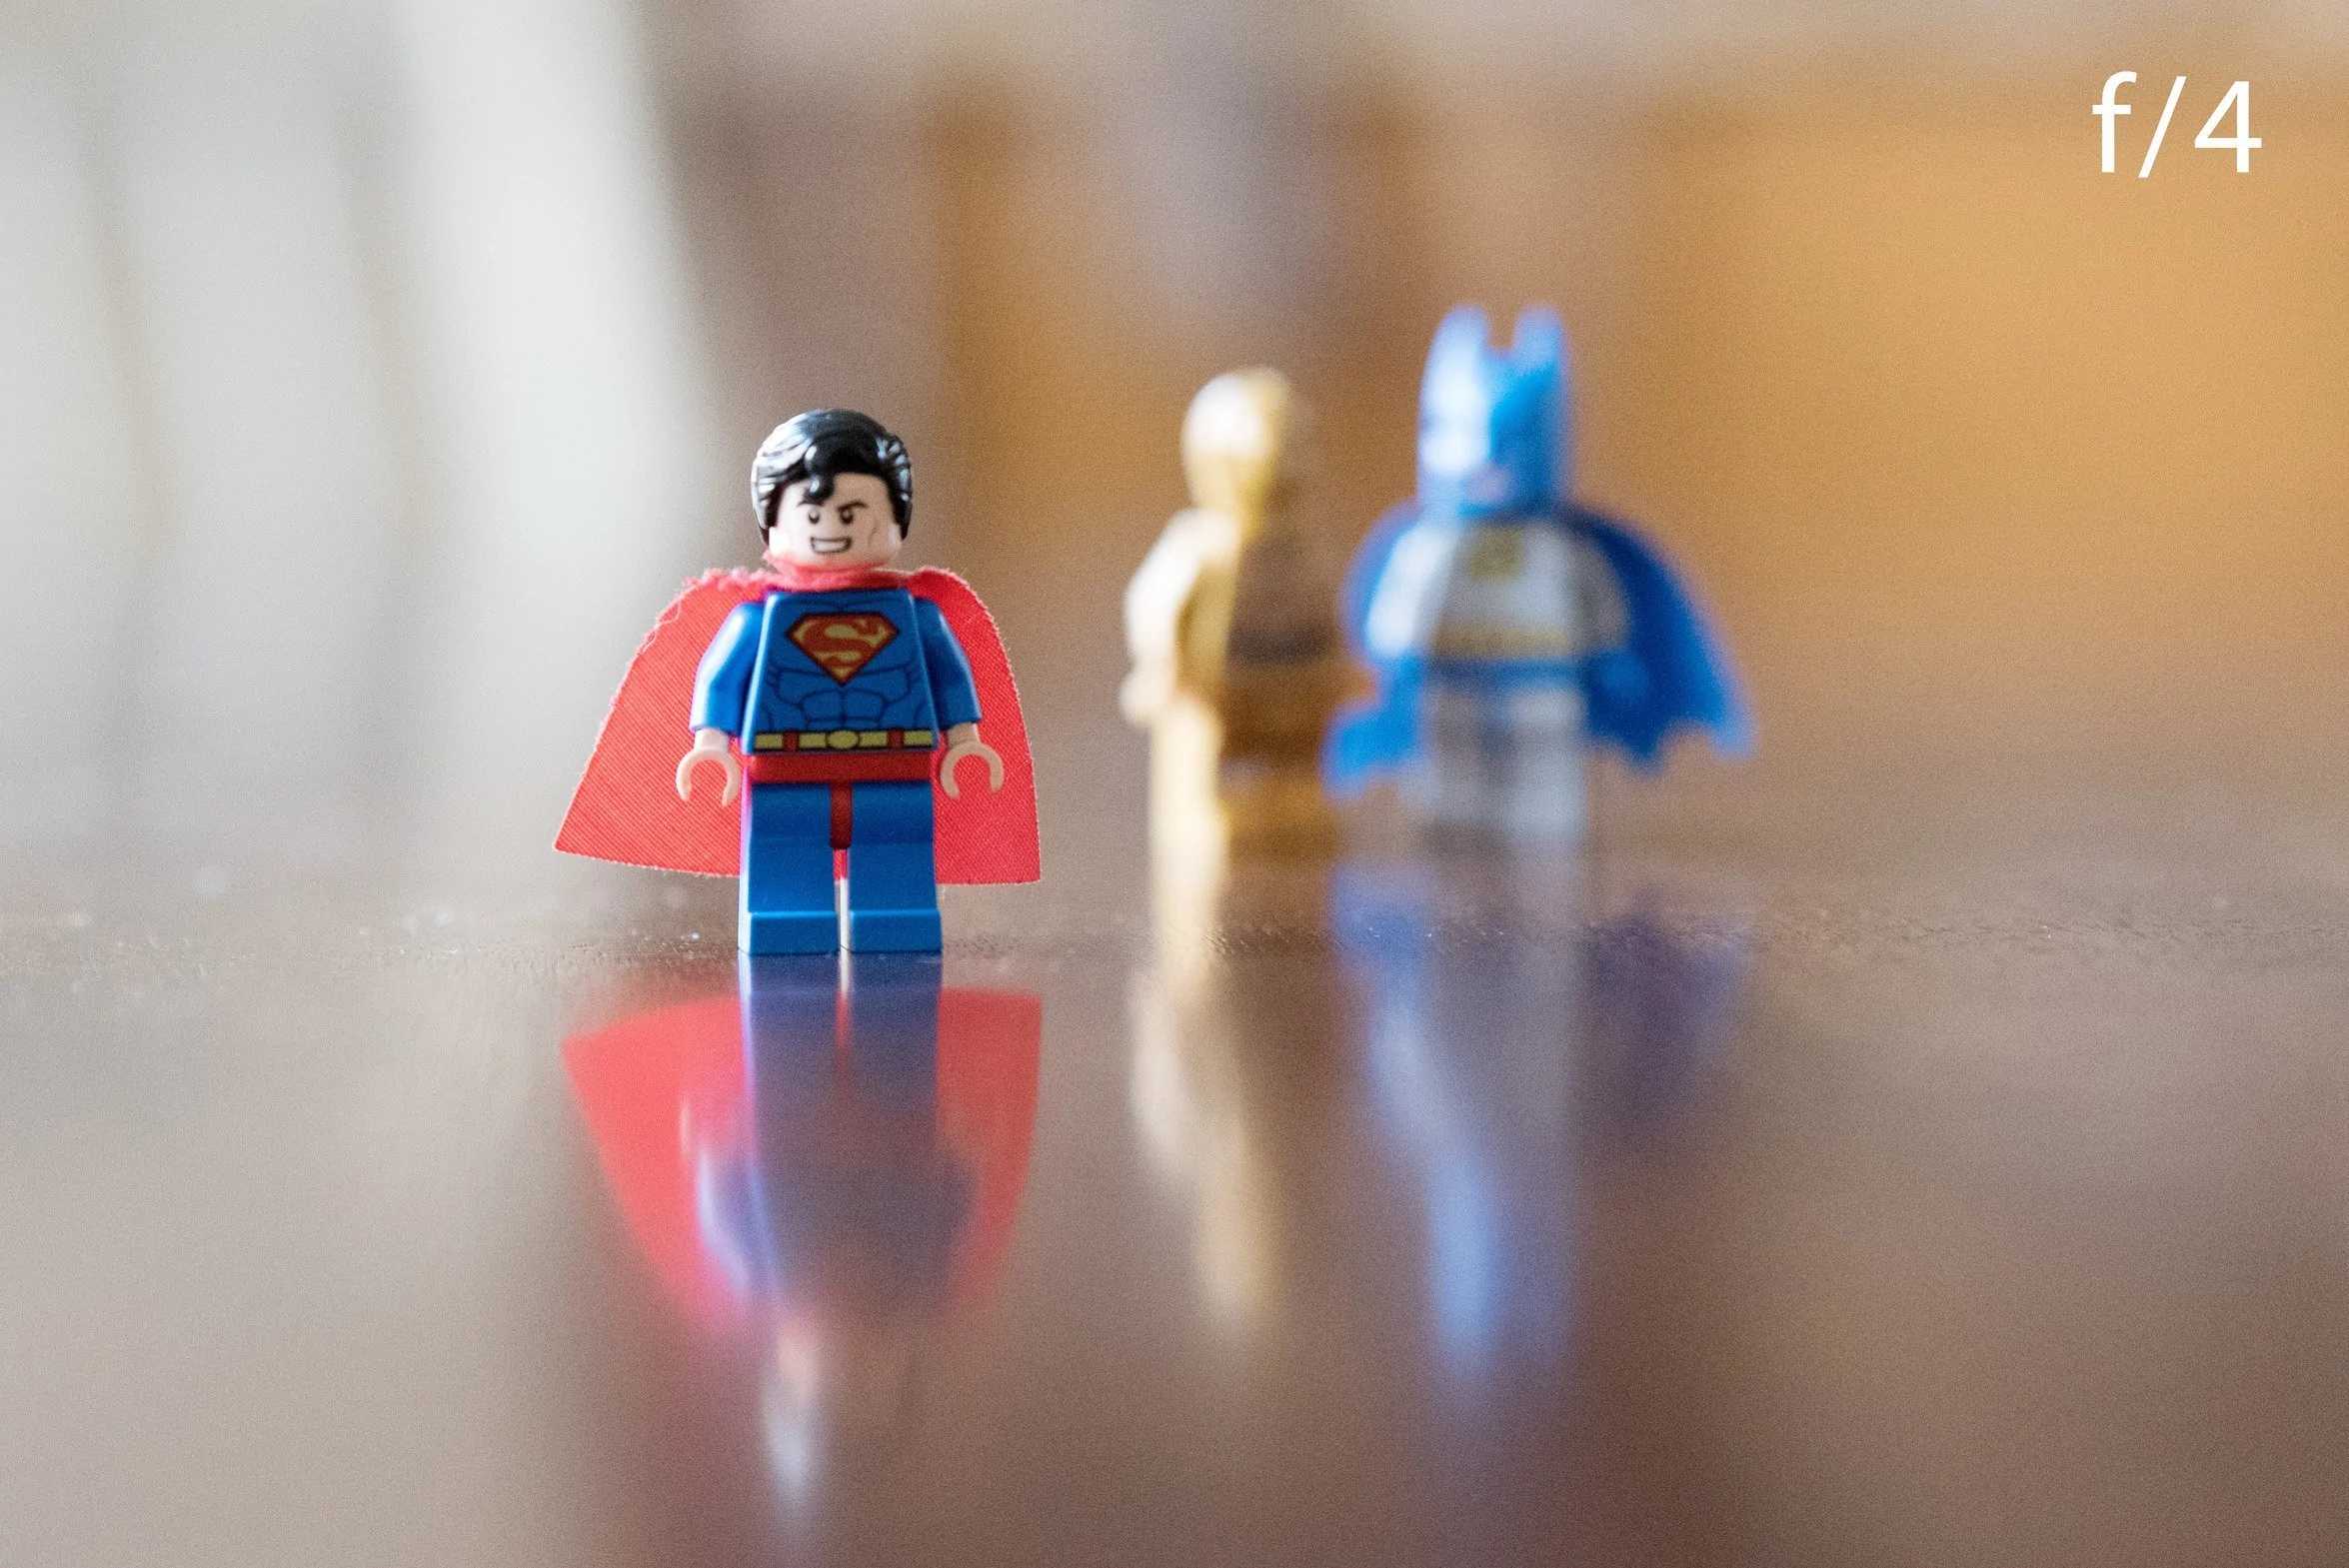
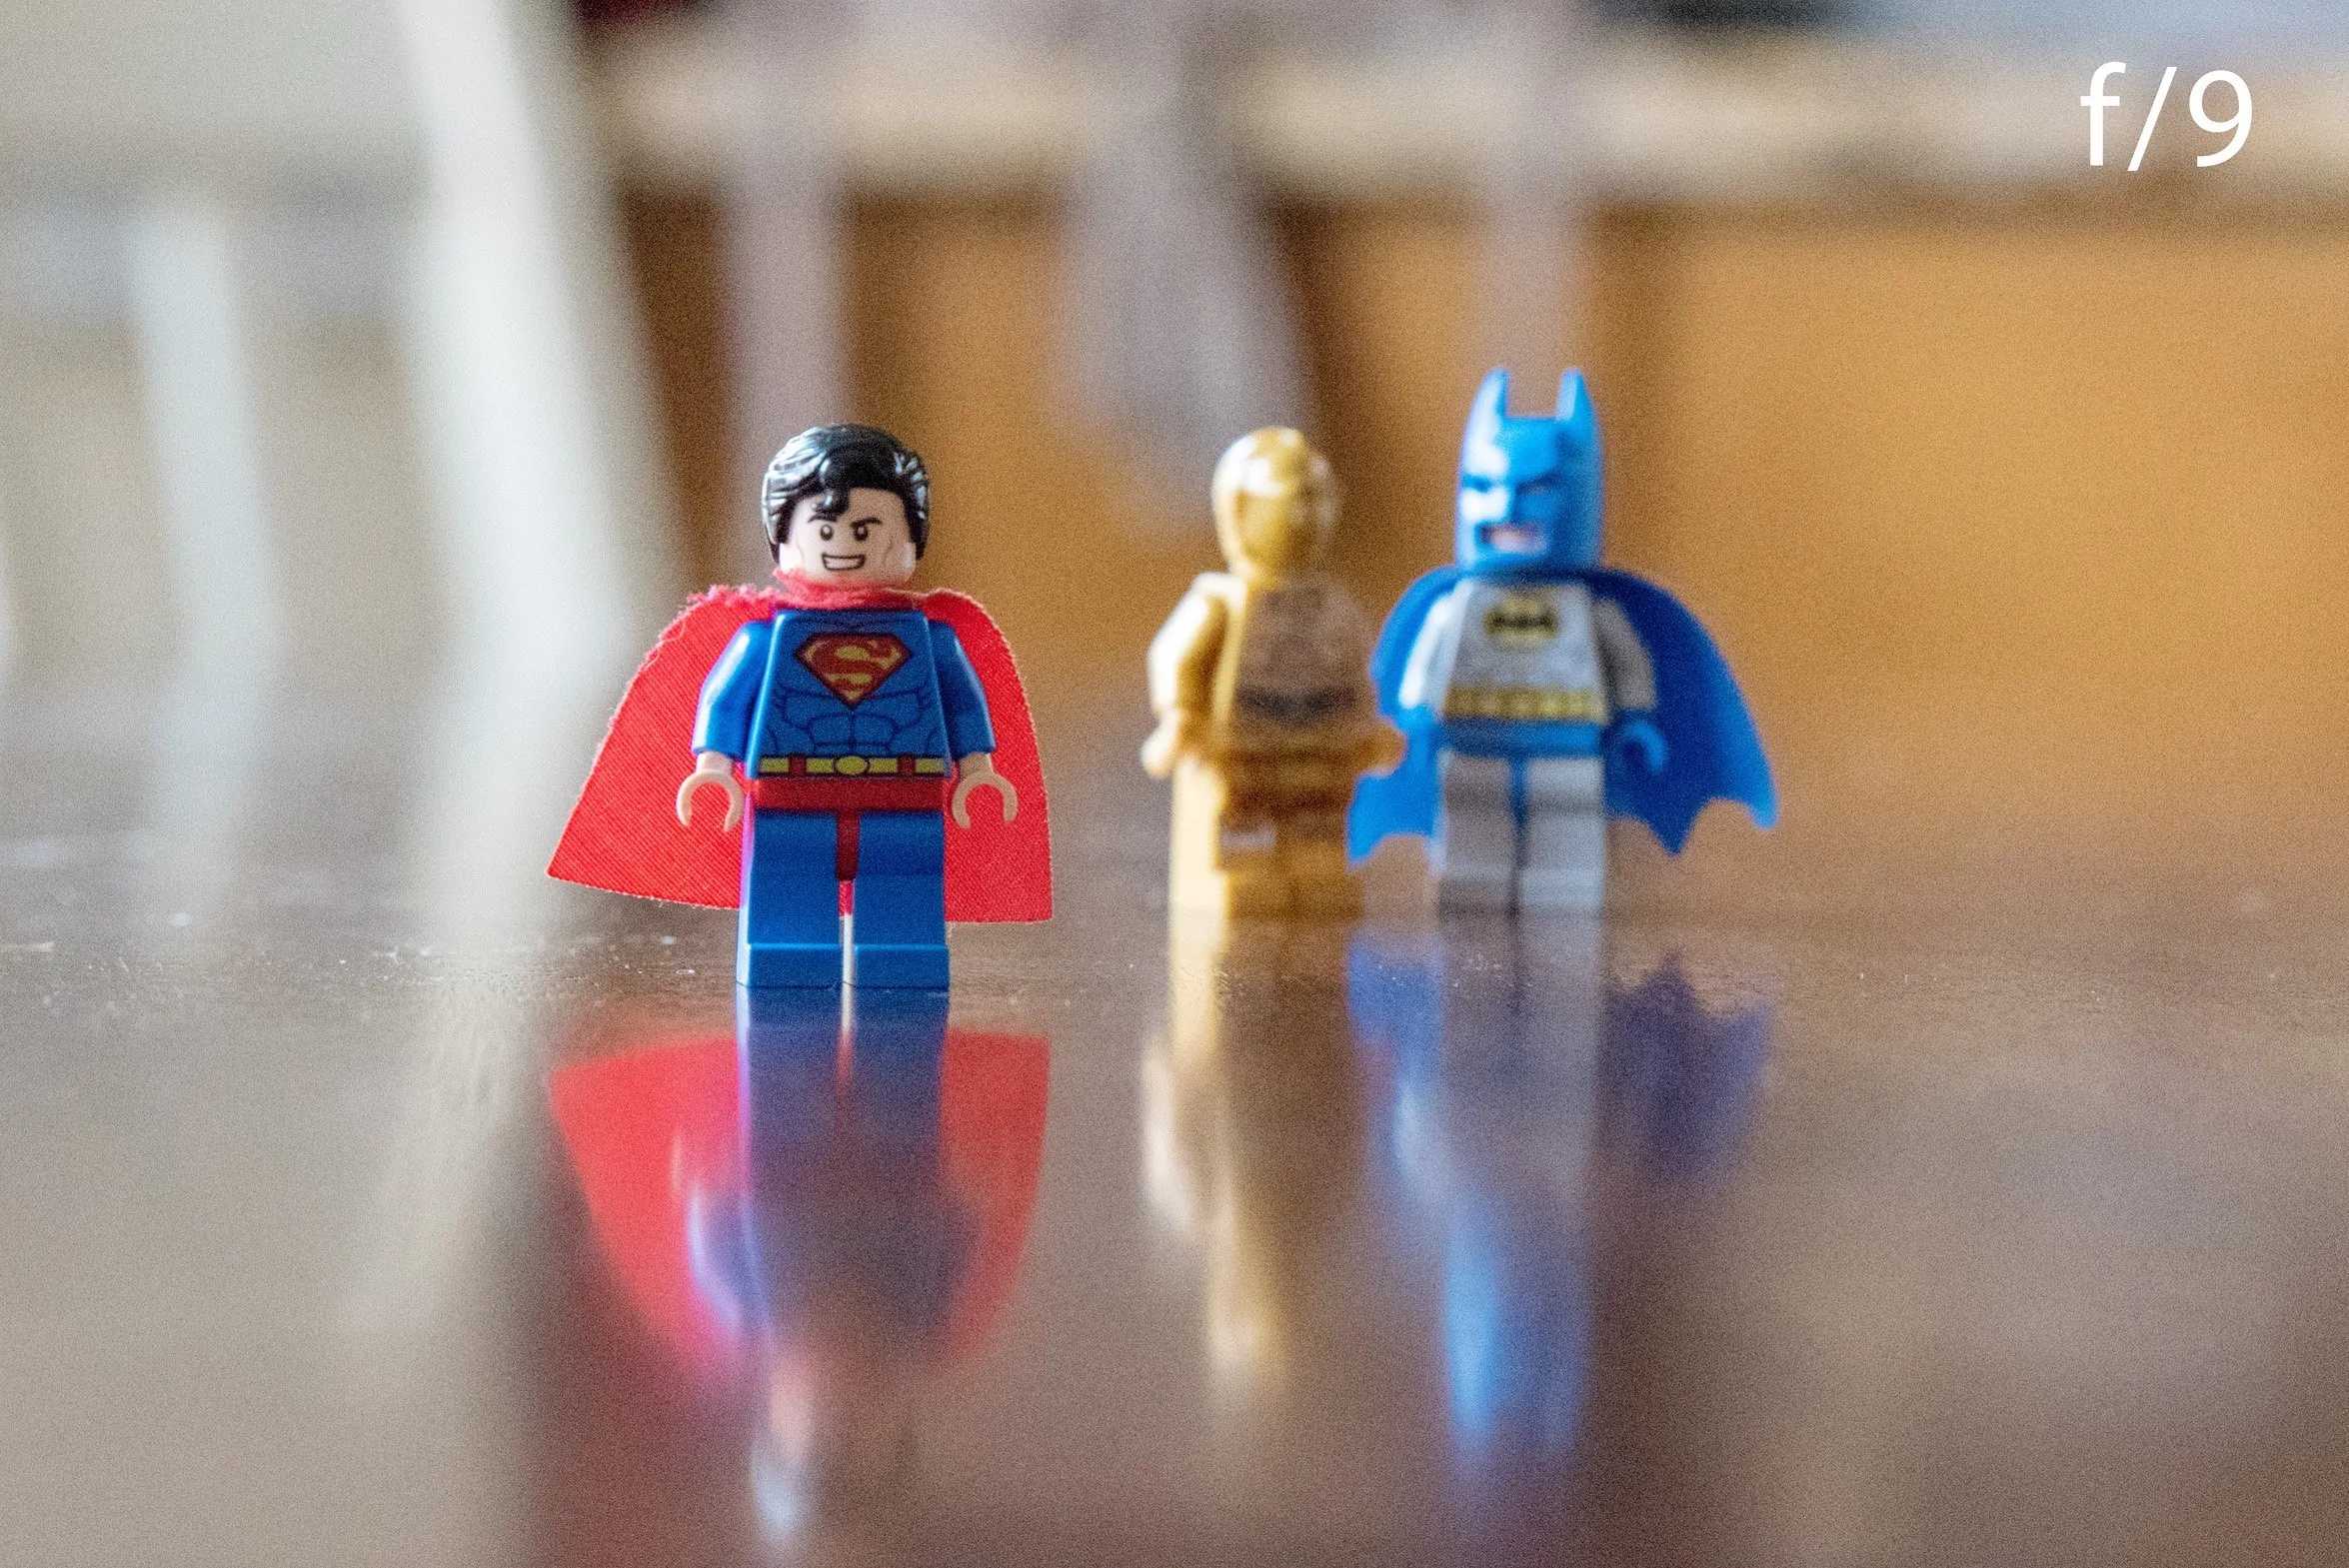
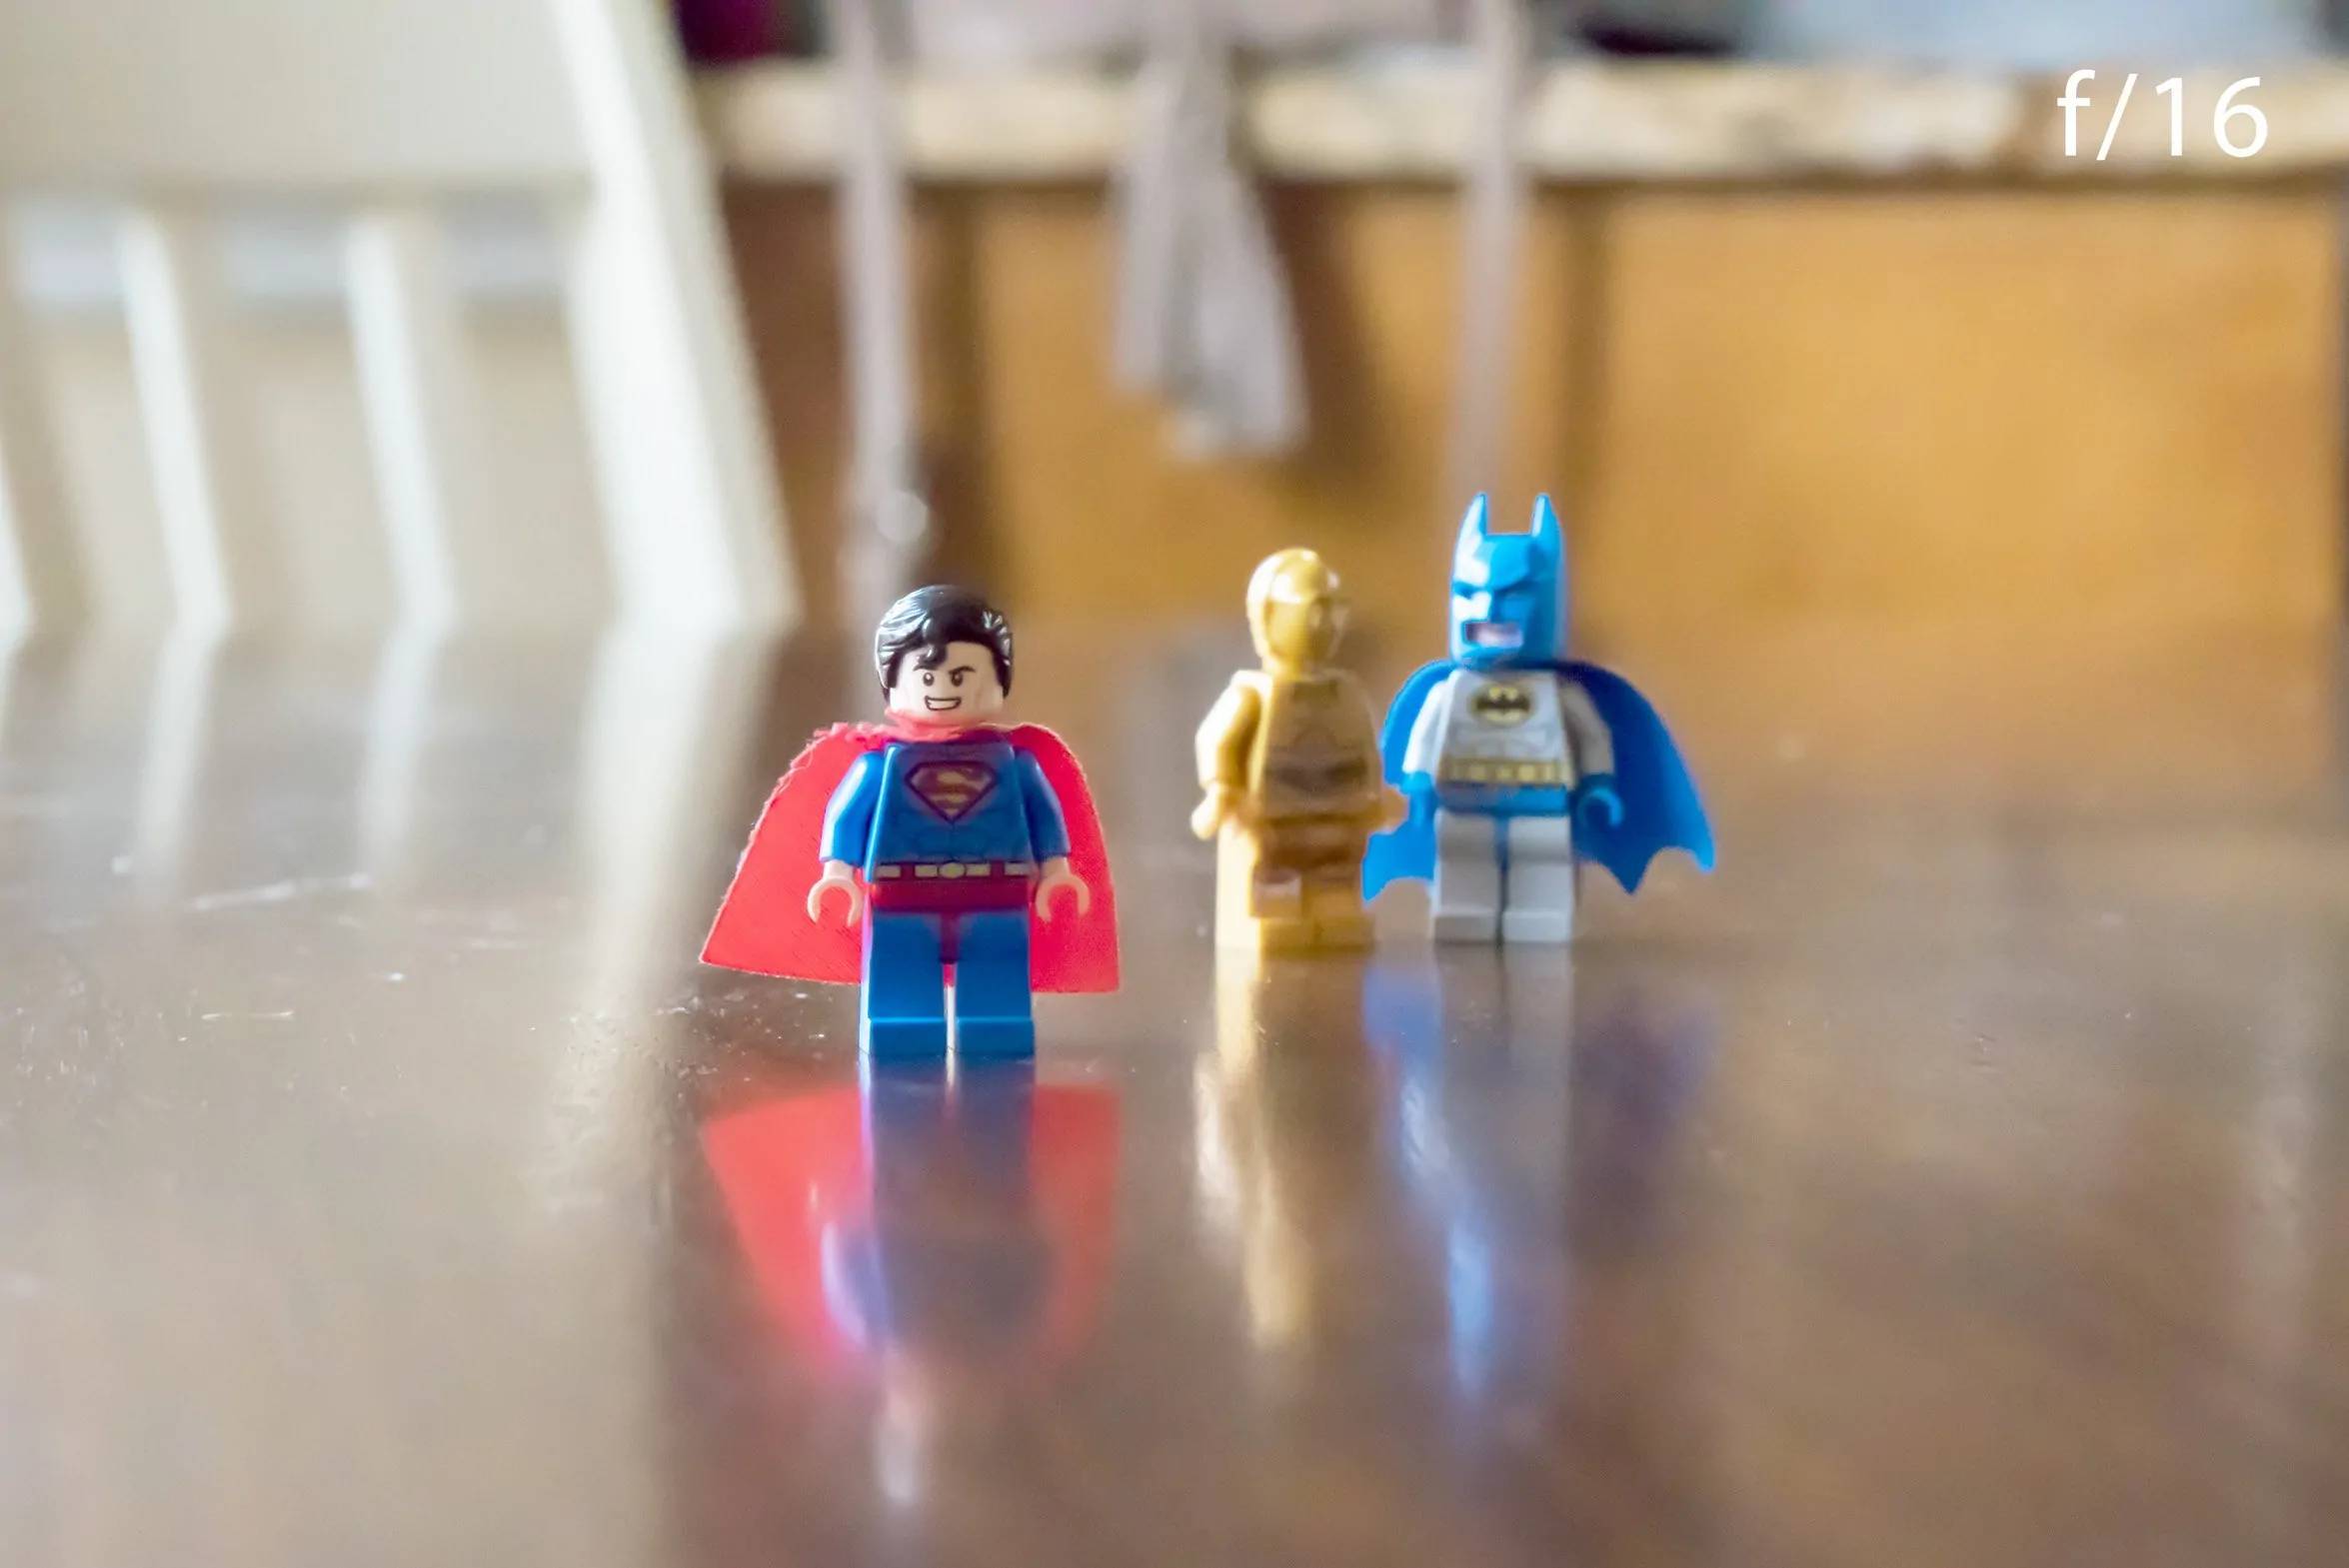
ApertureSemi-technical description: The aperture is the opening inside your lens. The size of the opening controls the amount of light that comes through the lens. A large aperture (large opening) is a small f/number (f/1.4, f/1.8, etc.). Therefore, because you are letting in a lot of light, you must use a faster shutter speed to achieve a proper exposure. A small aperture (small opening) is a large f/number (f/11, f/16, etc.). Because you are not letting in a lot of light, you must slow down your shutter to achieve a proper exposure.
Kitchen analogy: Turn on the water tap to fill a glass. The strength of the water flow will determine how quickly the glass fills—the stronger the drip, the faster the cup will fill (more light), and the slower the drip, the slower the cup will fill (less light). Can you visualize that?
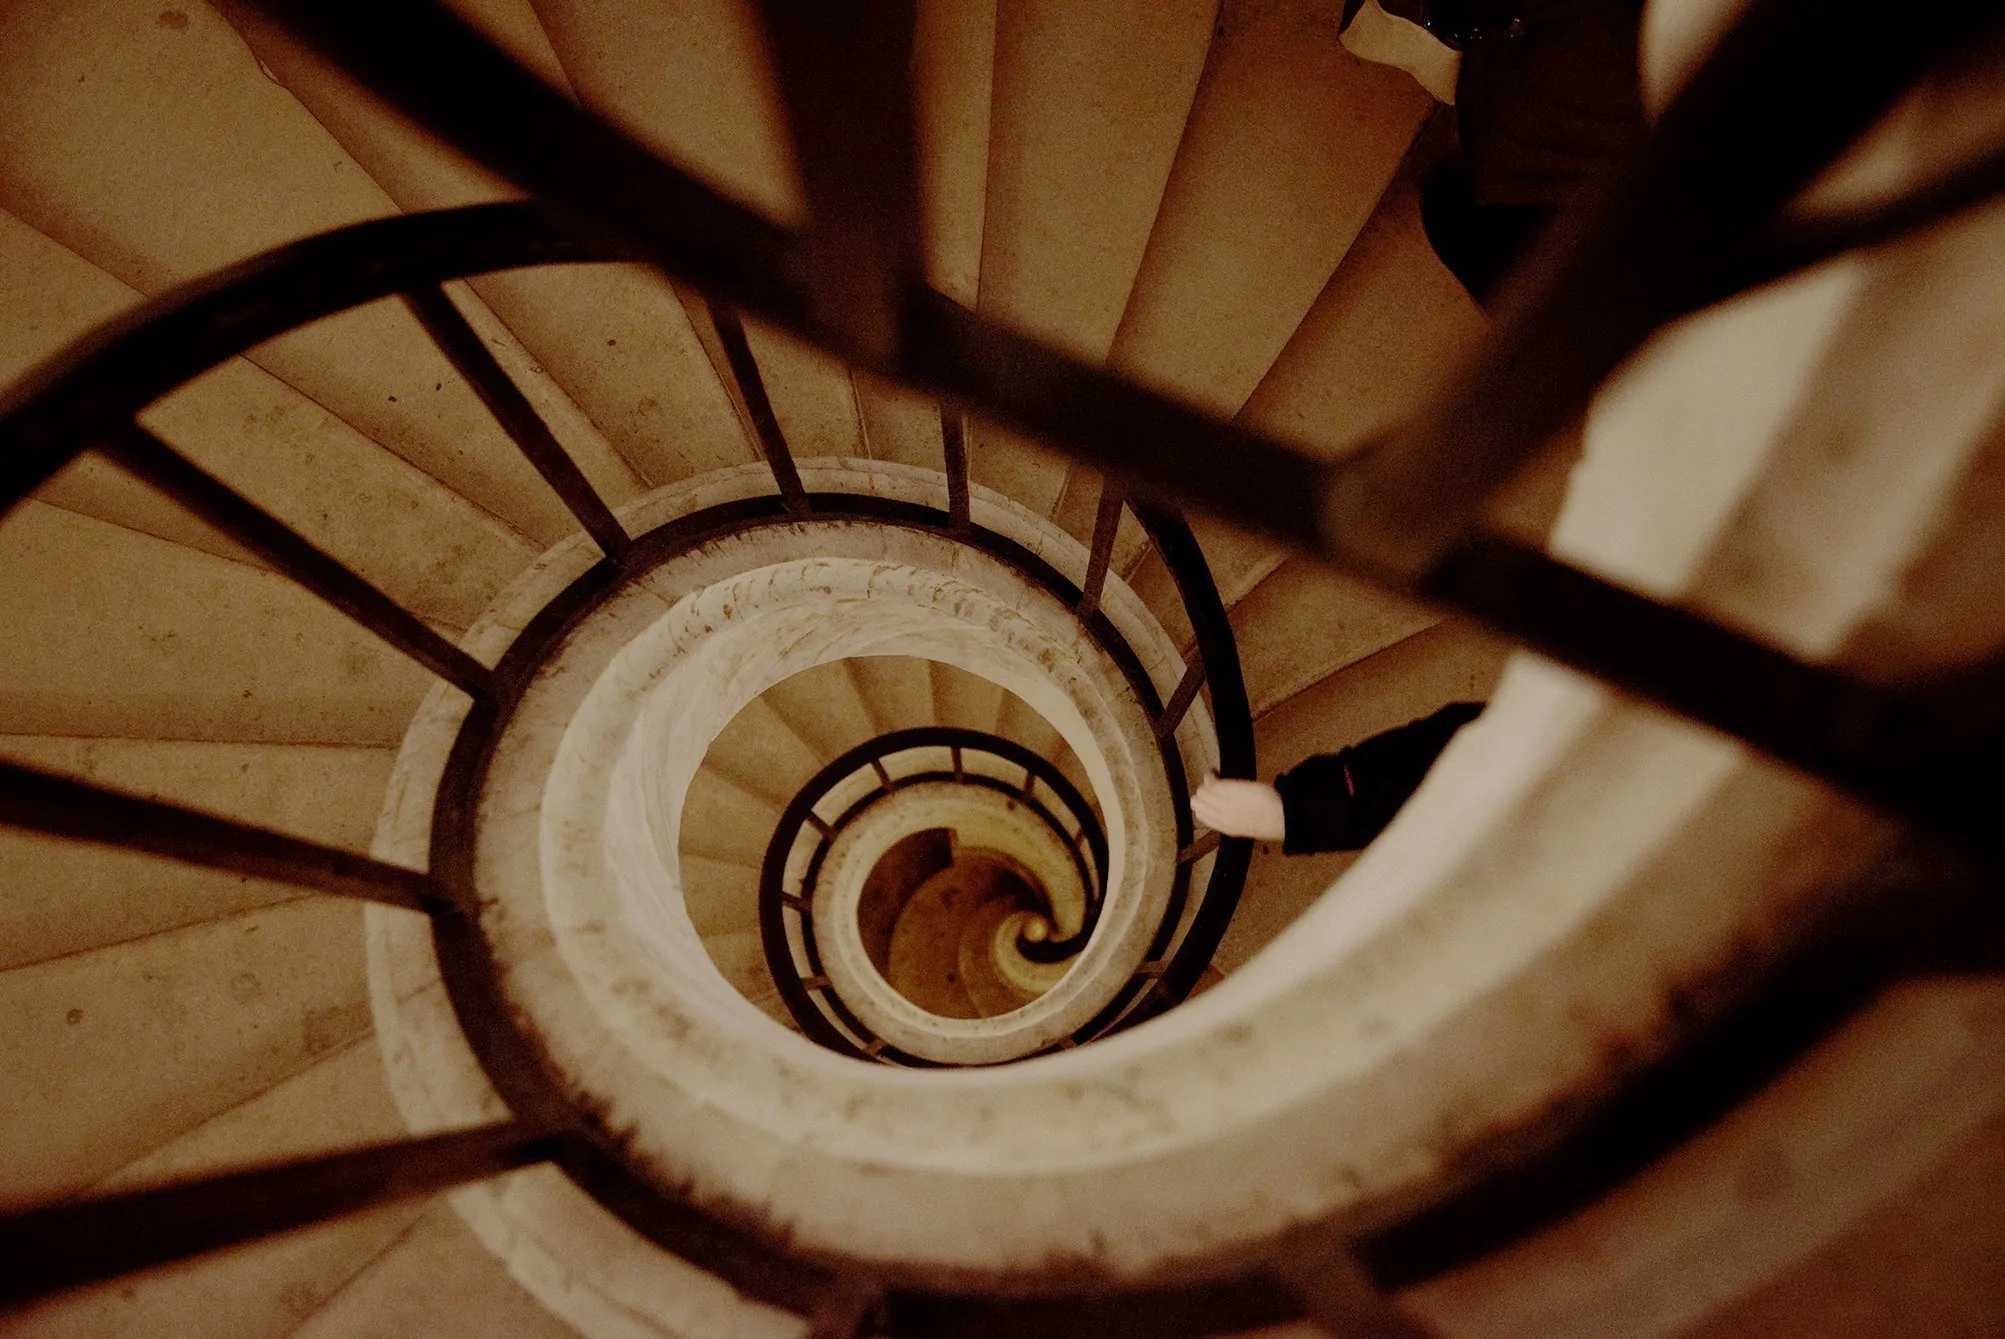
What does this mean? This means that the larger the aperture (larger the opening in the lens), the more light will come in, thus giving you that blurry, creamy background. The smaller the aperture (the minor the opening), the less light will come in, and more of your picture will be in focus. Here are some examples:

Shutter speed
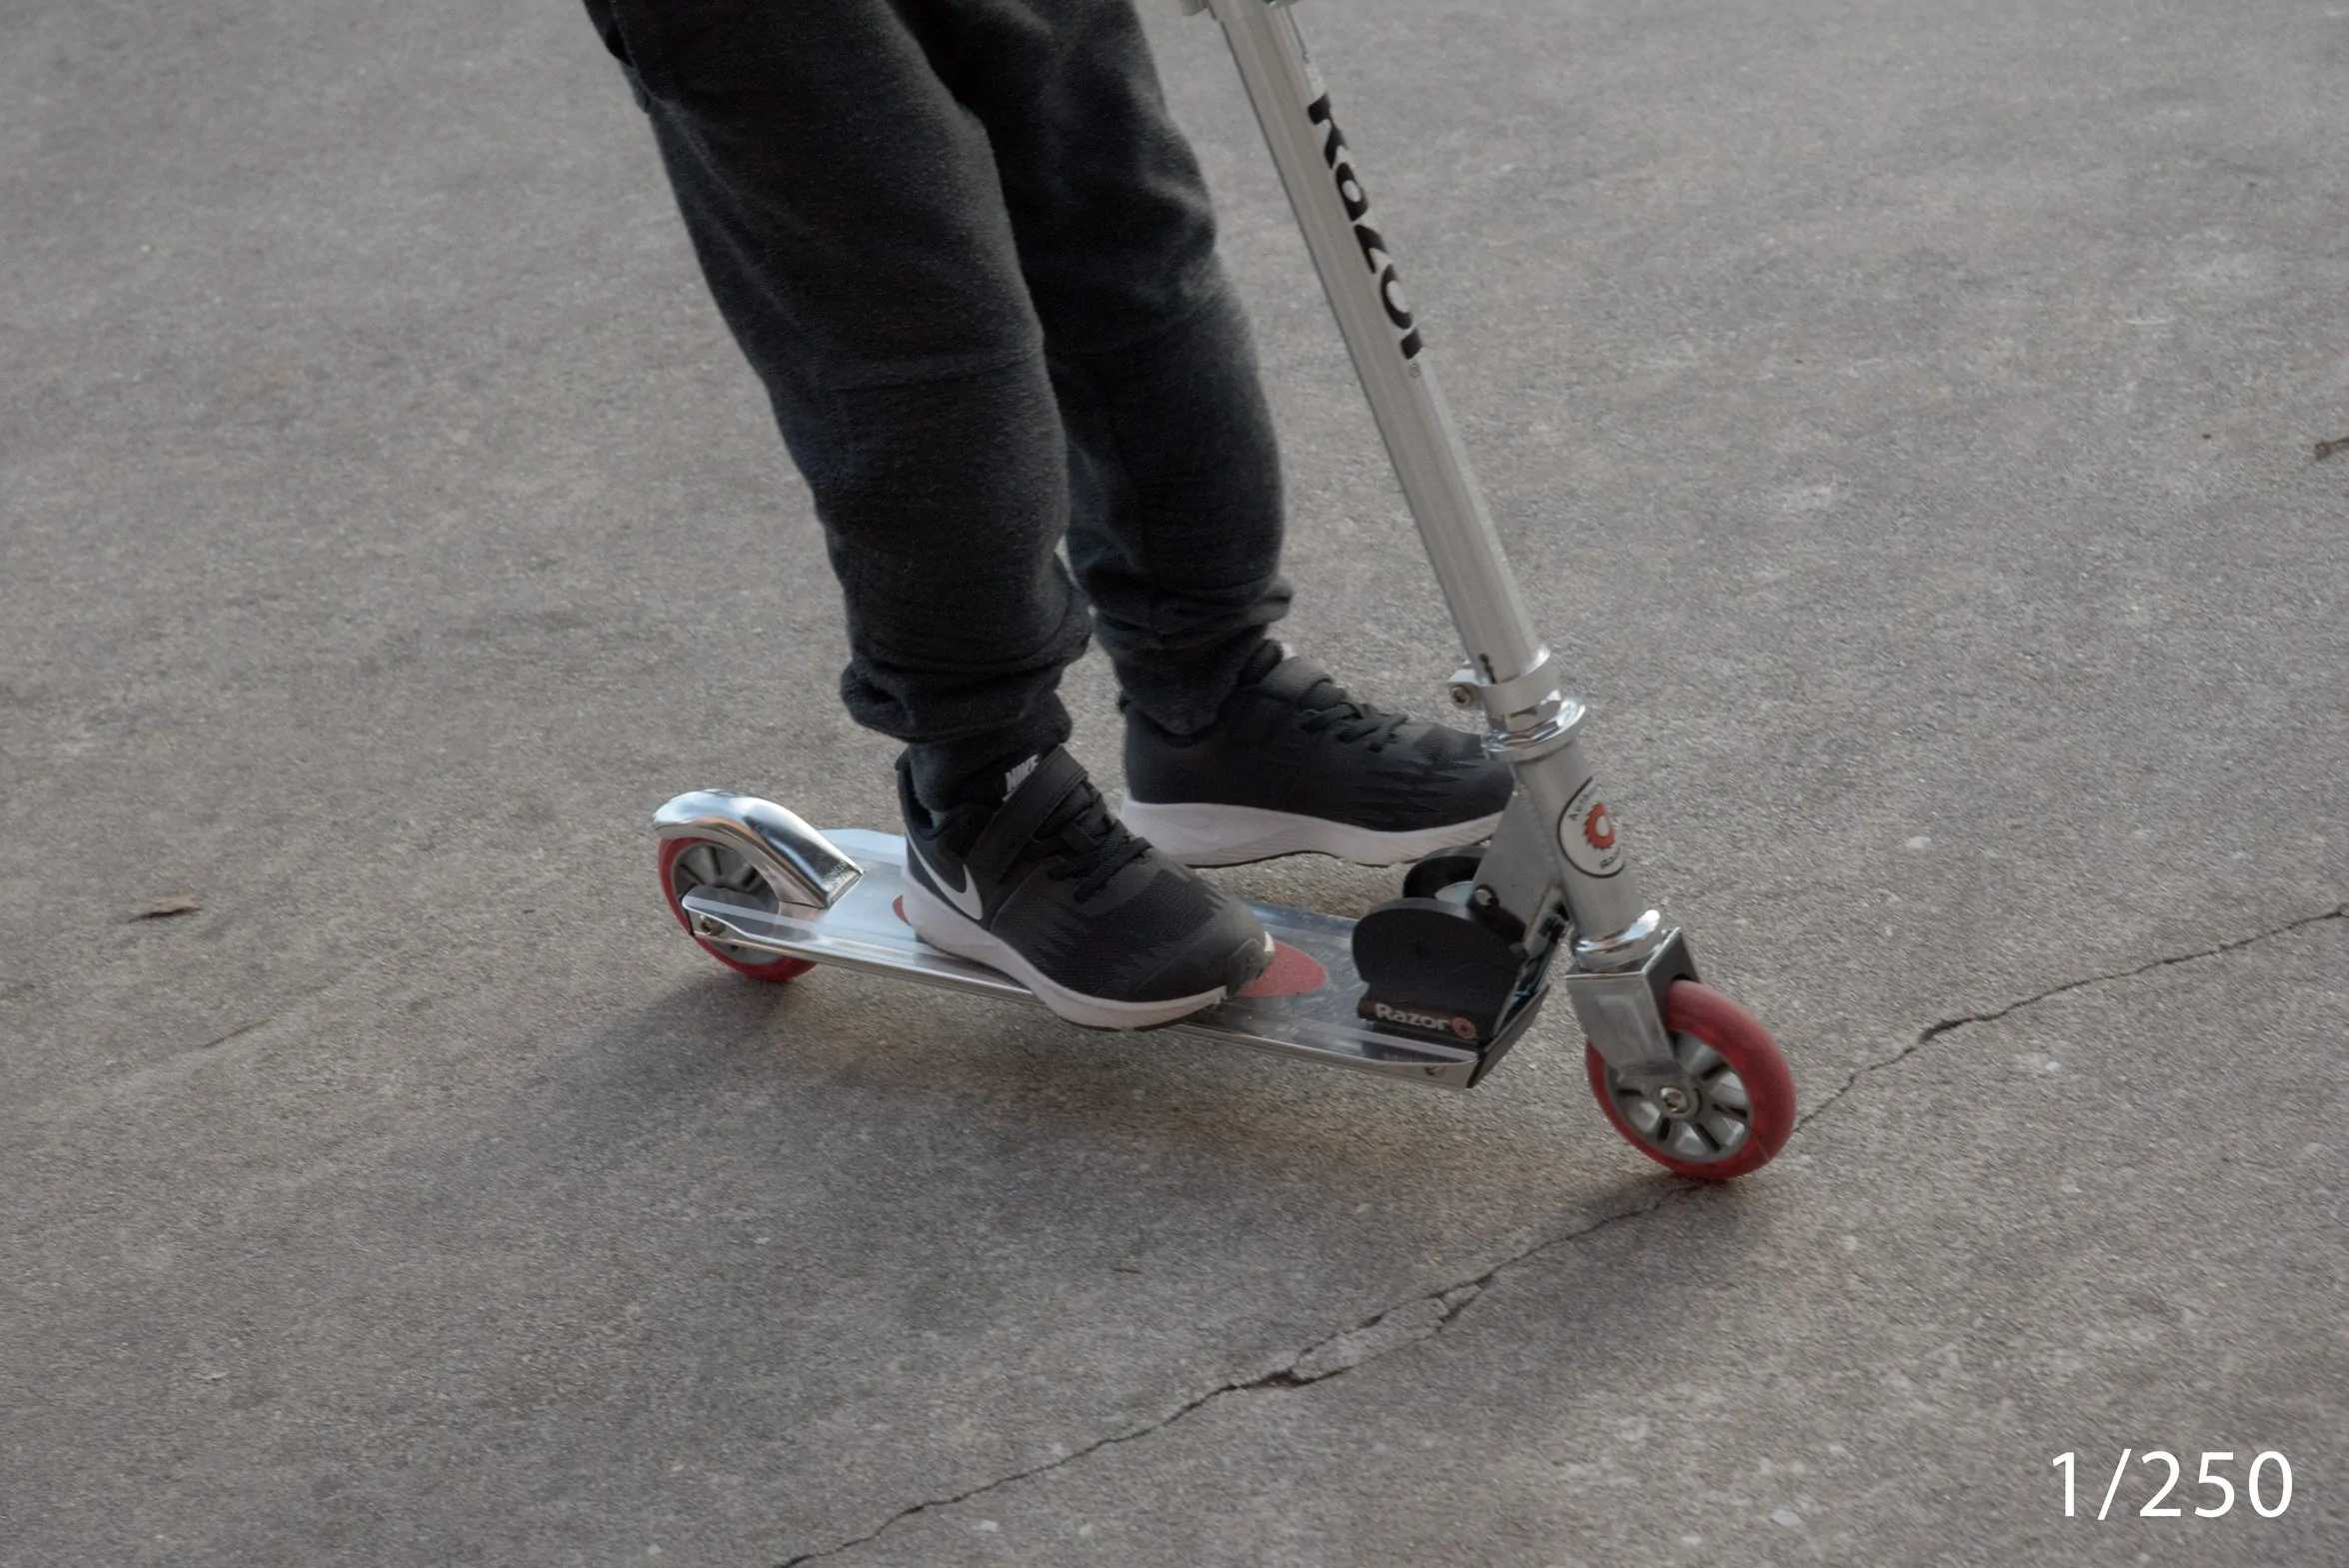
Semi-technical description: Shutter speed is when your camera’s shutter (curtain) opens and closes. Fast shutter (1/500 sec., 1/1000 sec.) brings in less light. This means you must open your aperture wide (let more light in) for a proper exposure. A slow shutter (1/30 sec., 1/60 sec.) brings in more light, so you must close down your aperture (let less light in) for proper exposure.
Kitchen analogy: Filling your cup of water for a specific time. Turn the tap on and then choose how long it will stay on. The longer it is on (the longer the shutter), the more water (light) will come in.
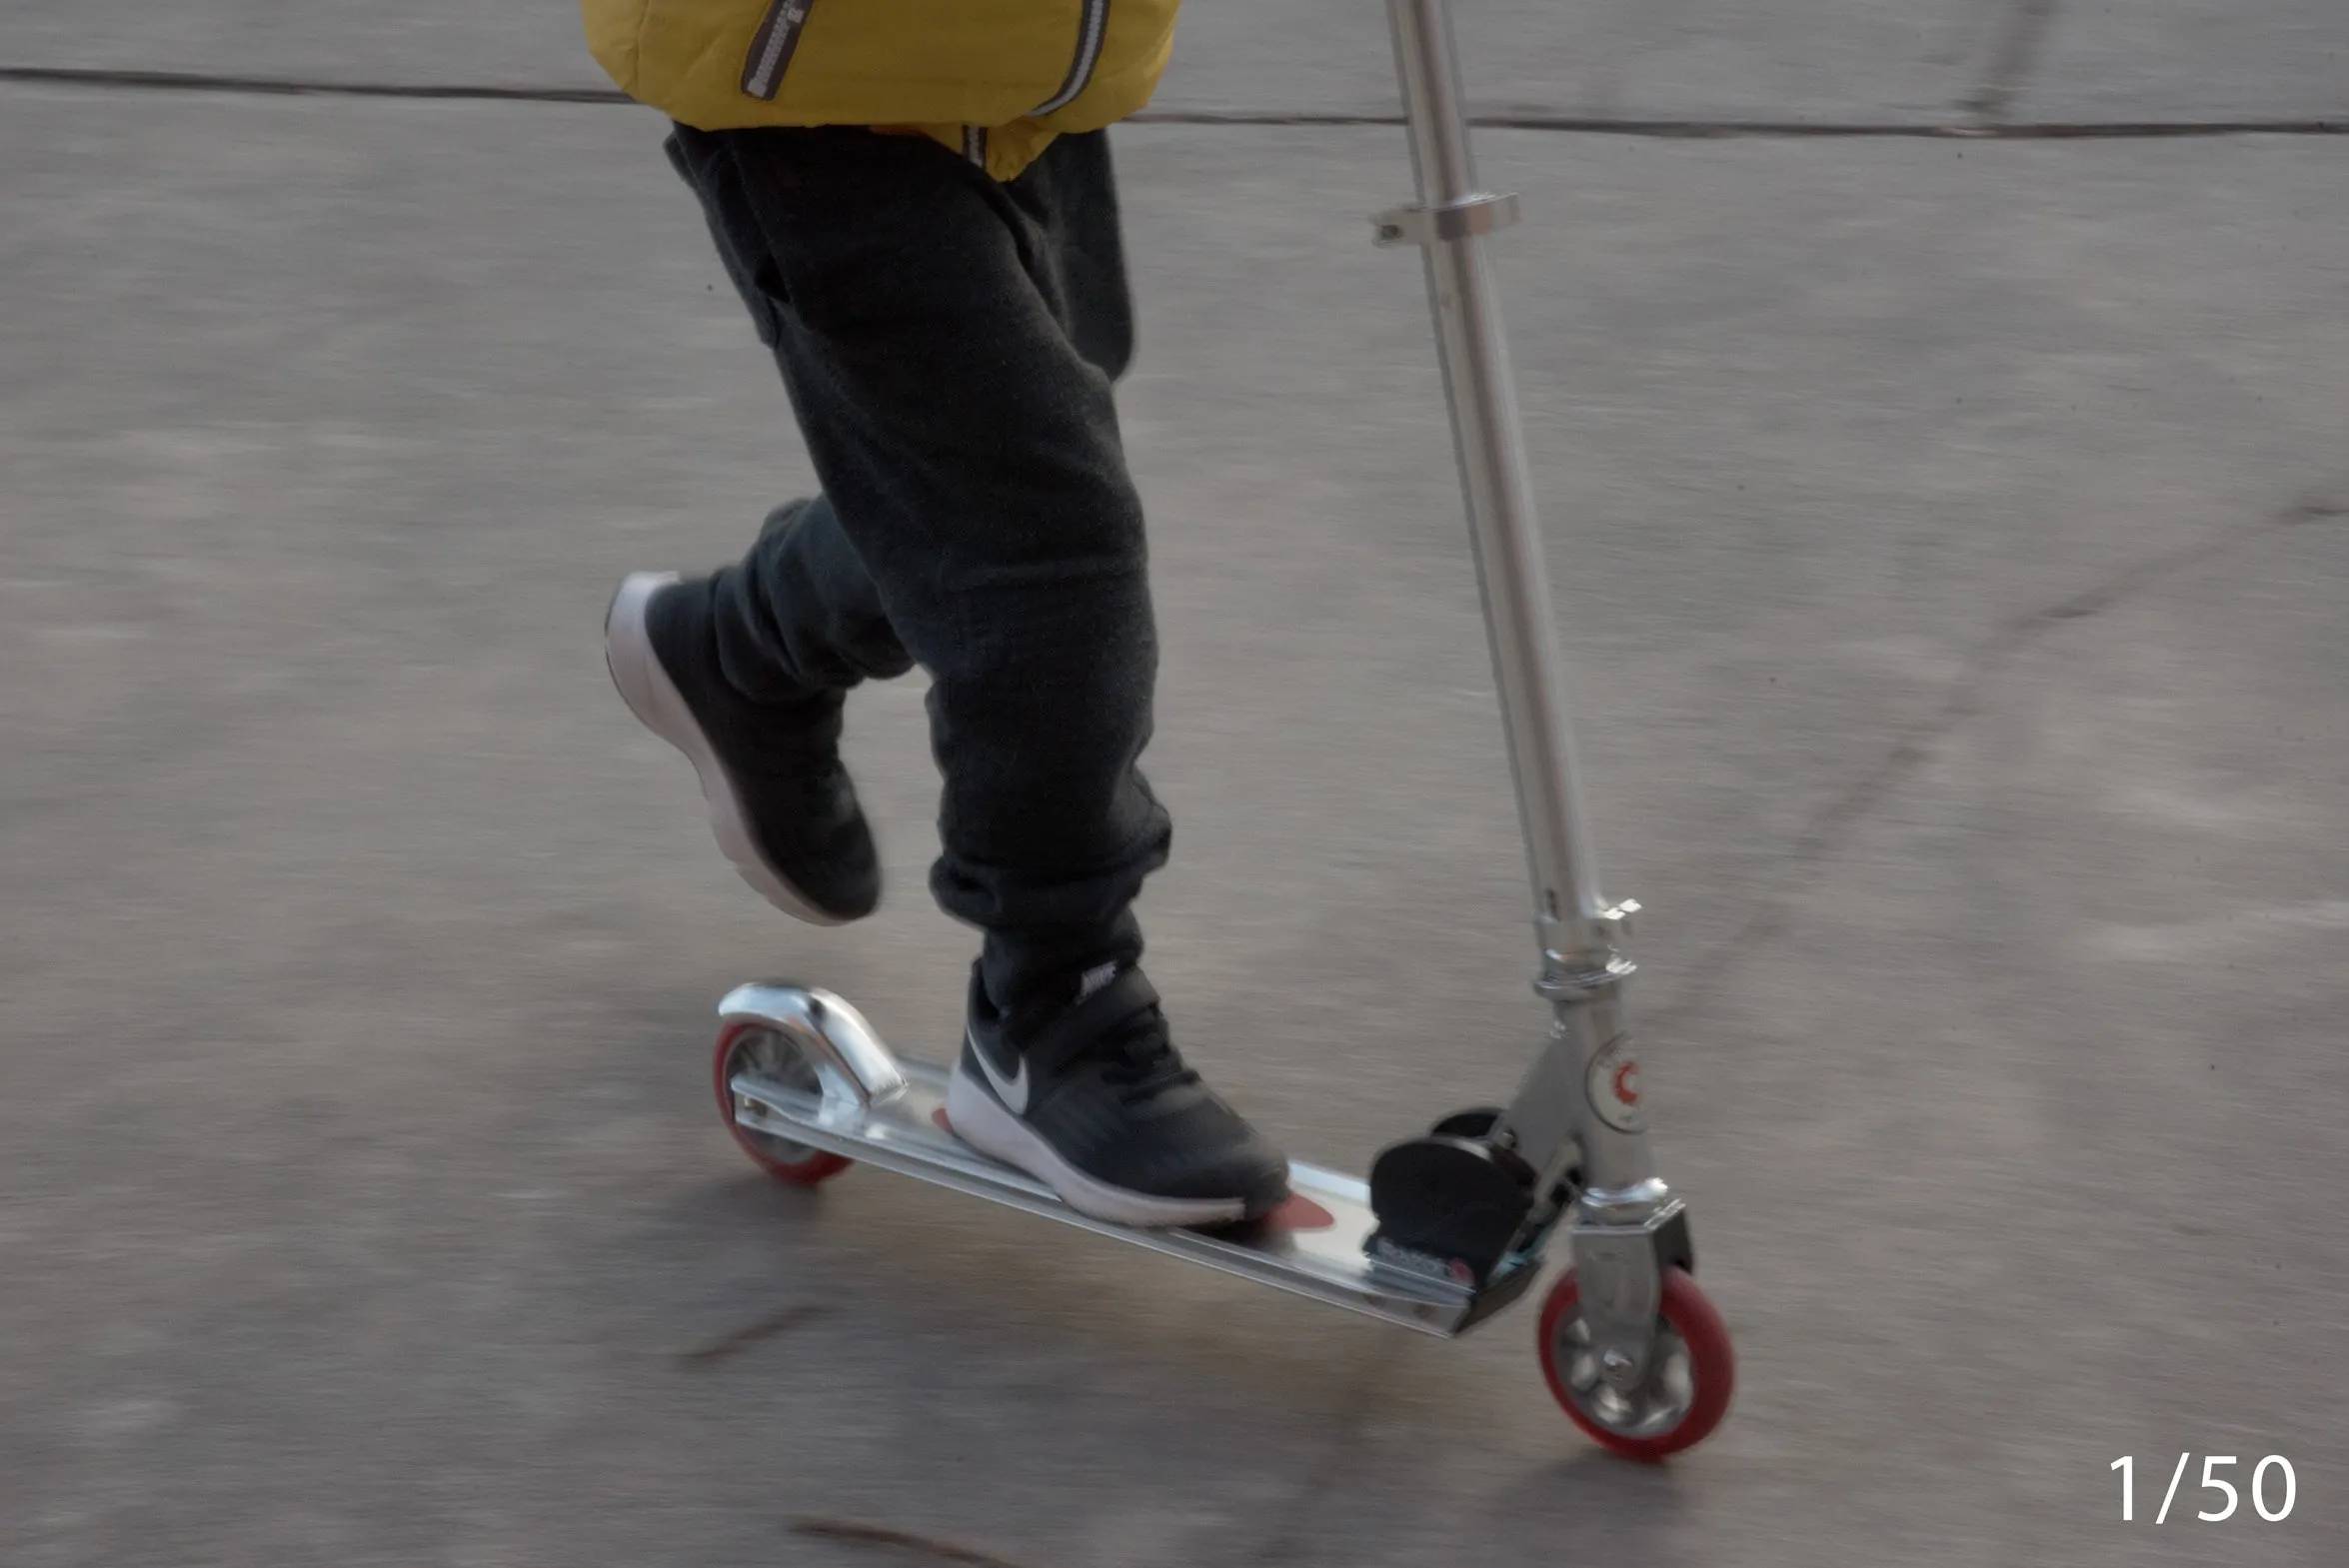
What does this mean? This means that the faster the shutter, the less light comes in. This is how you freeze the motion. The slower the shutter, the more light comes in. This is how you achieve motion blur. You can also imagine closing curtains – the faster you close them, the less light you see. The slower you close them, the more light comes in. Here are some examples:
ISO
Semi-technical description: ISO is your camera sensor’s sensitivity to light. The higher the ISO (ISO 800), the more sensitive to light it is, so less light is needed for proper exposure. Think of high ISO as an additional source of light. Higher ISO also means more grain in your picture (those little dots all over your photos). The lower the ISO (ISO 100), the less sensitive the sensor is to light, requiring more light from either aperture or shutter speed. The low ISO’s beauty lies in the image’s clarity, as the gran is non-existent.
Kitchen analogy: The diameter of the cup you are filling. The narrower the cup = the higher the ISO.
What does this mean? Think of ISO as an additional tool to help you get more light when the aperture and shutter speed can no longer give you more light. High ISO is most useful indoors or in low-light conditions. This will also increase the grain, but that is not always bad. Here are some examples:

I hope you have found this DSLR mini tutorial—how DSLR cameras work blog post helpful. These explanations are not extremely technical but useful tools for helping you get more comfortable shooting in Manual Mode. Pick up your camera now and put these to practice.
As always, thank you for reading! Post your comments below if you have found this blog post useful and if I can help you with any other DSLR questions. And if you are interested in the upcoming in-person DSLR workshop with me, please check out the details here.

