")

")
Easy tips for taking great photos with your iPhone
With some know-how, iPhone photos can go from good to great! Simple tips and tricks can make documenting the important moments in our lives all the easier while improving quality. We live in an age of unprecedented access to high-quality cameras in our pockets. The smartphone has given us many chances to capture everything from information on a receipt to fleeting moments with our children that would be over by the time we retrieved our camera. We can scroll through images, discard the worst, and adjust the best to share them on Facebook, Instagram, and other social media outlets we use. Knowing how to use your iPhone camera most effectively will make these photo opportunities even more successful. Read more for some easy iPhone tips and to see examples.
Access your iPhone Camera quickly and easily.
Tips, tricks, and hacks are helpful, and just knowing them will allow you to take great photographs at a moment’s notice or make the most of lousy lighting or quick movements. One of these iPhone photo hacks that I have found most helpful is swiping left when your iPhone is on the lock screen to access your camera quickly. If you have children, you know a photo-worthy moment can be long gone by the time you even get your phone out of your pocket. So, the quicker, the better!
Simple and very effective iPhone photo tip for making the most of light.
Another iPhone photo hack is making the most out of mediocre lighting. Adjust the brightness by focusing on your subject and then scrolling the brightness adjuster next to your focus box upward with your finger until you are happy with the level of brightness. The result is a much more illuminated field of vision on your screen. You can photograph that moment and subject matter without letting the lighting remain a negative factor in how the picture turns out.
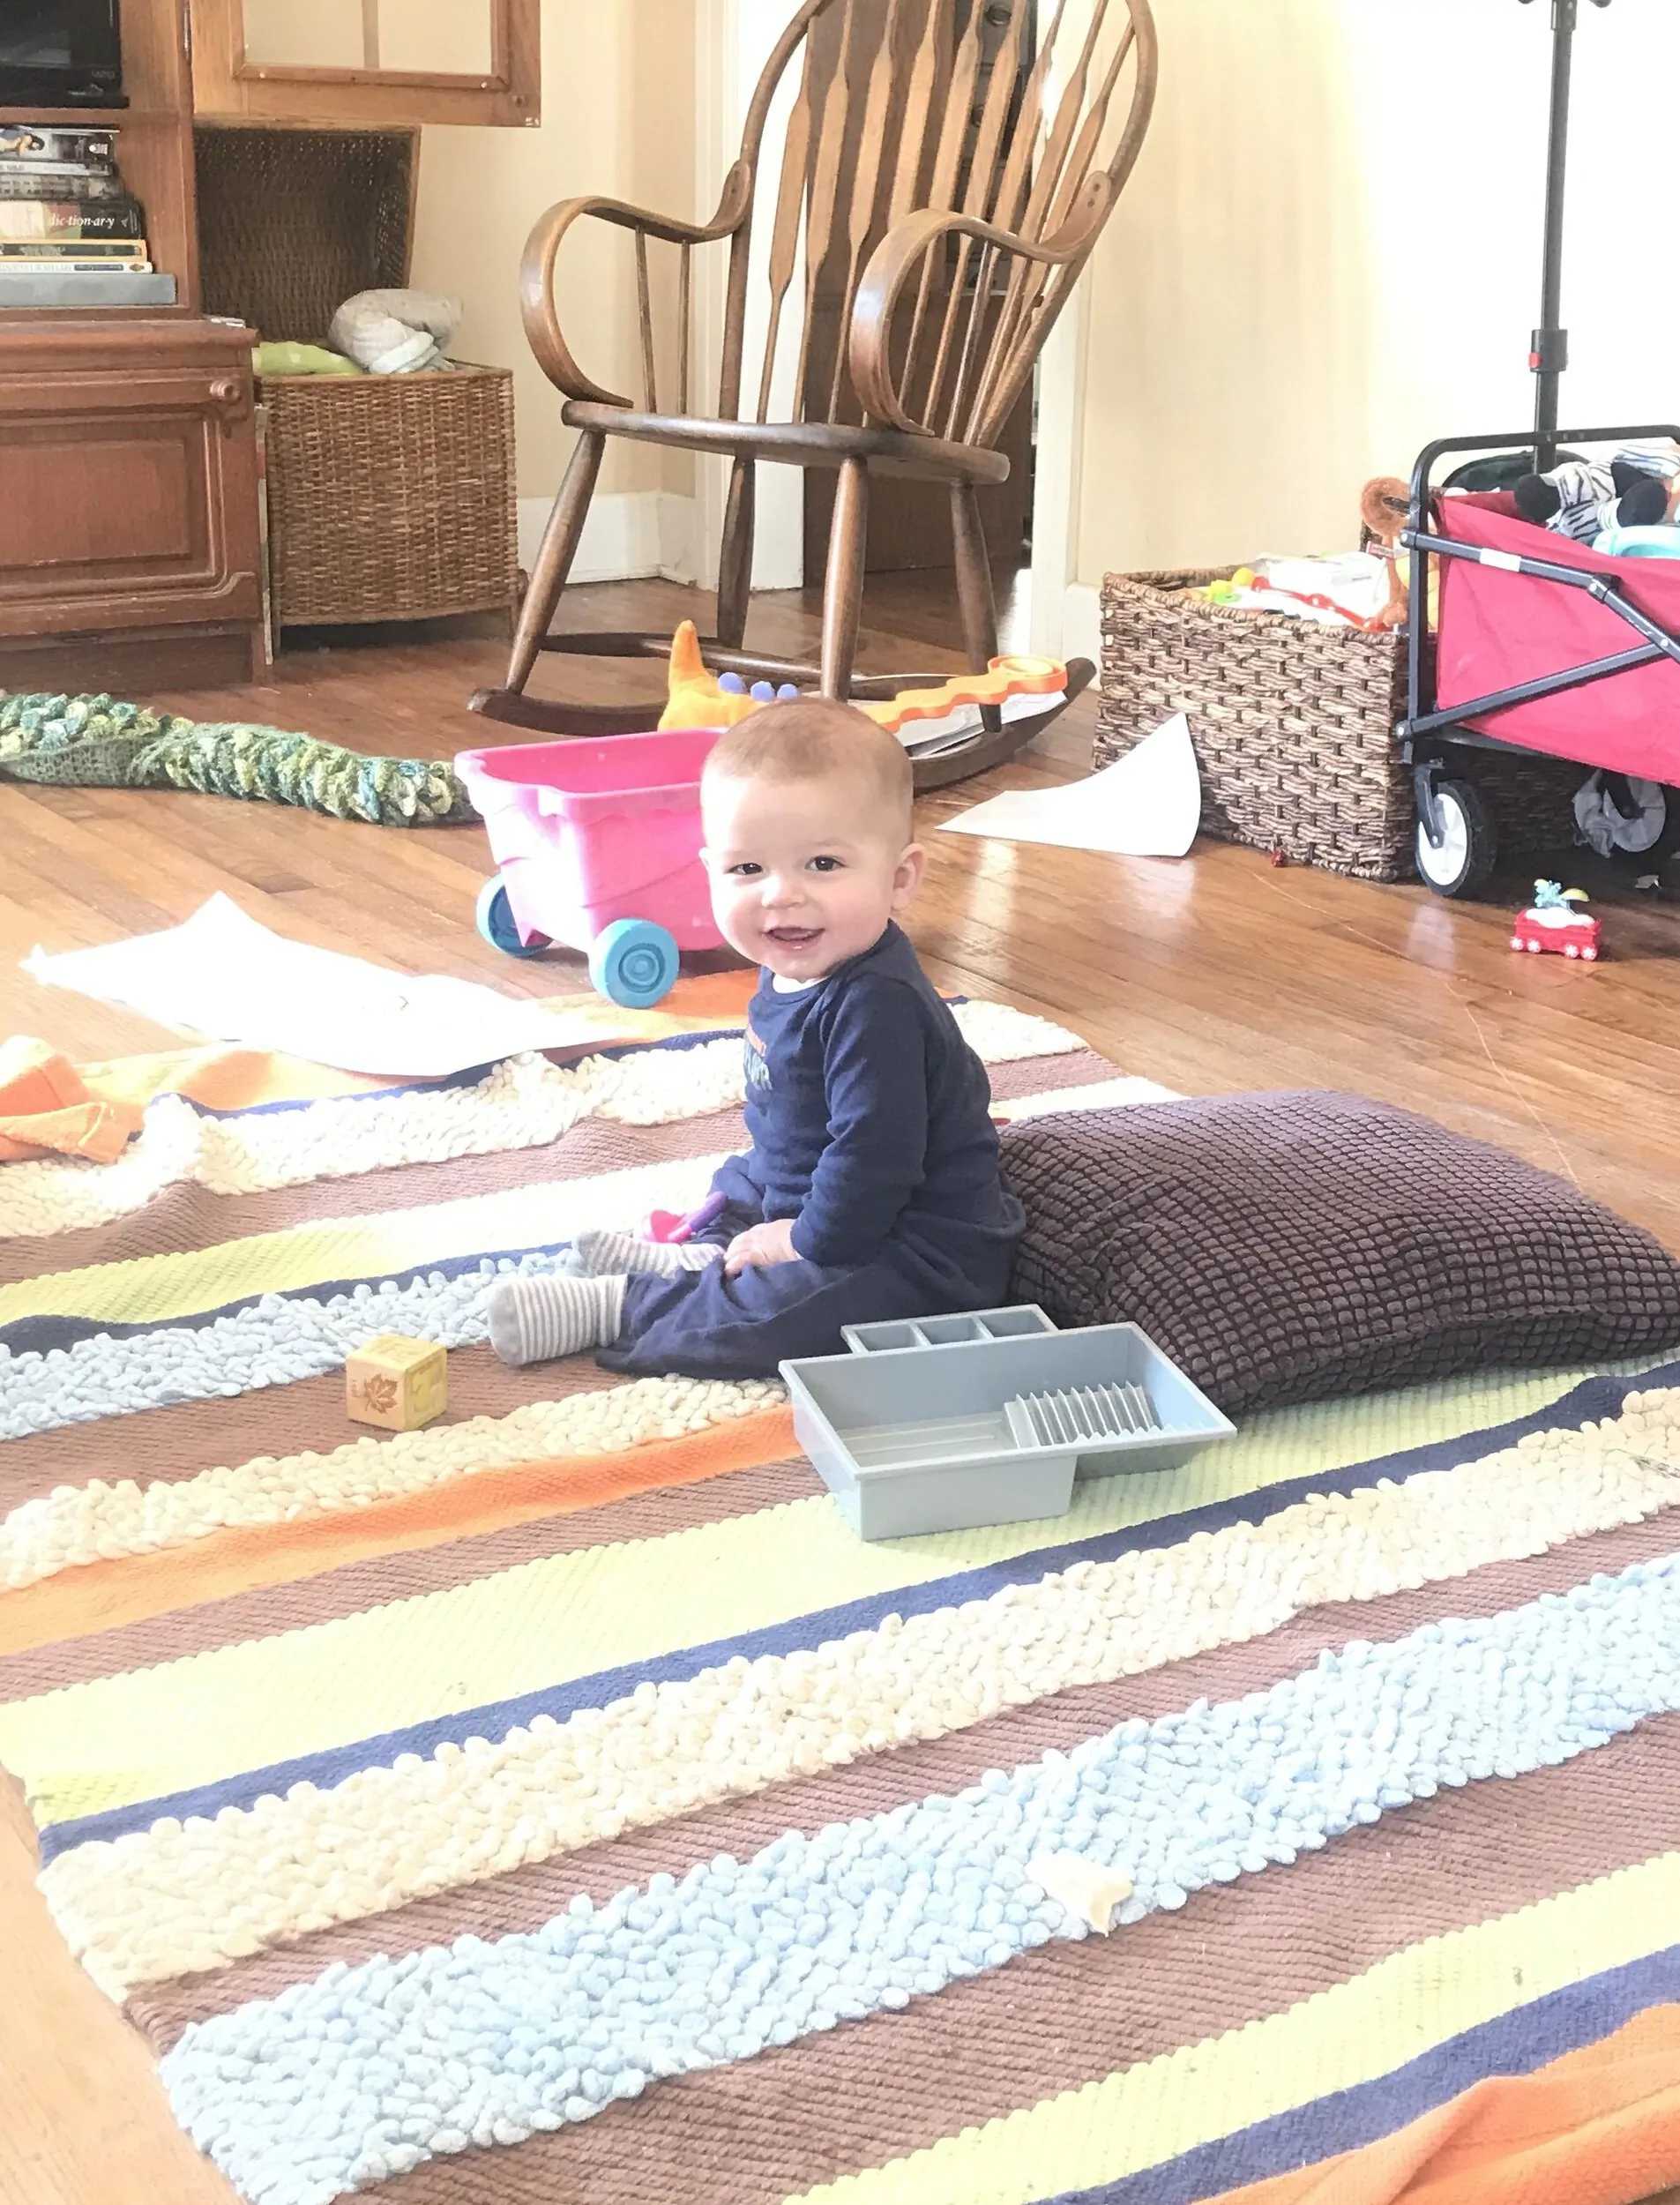
Before and After photo example using the brightness adjuster.
Here are two photos. One shows how the light looked without adjusting the brightness, and the other after using the adjuster.
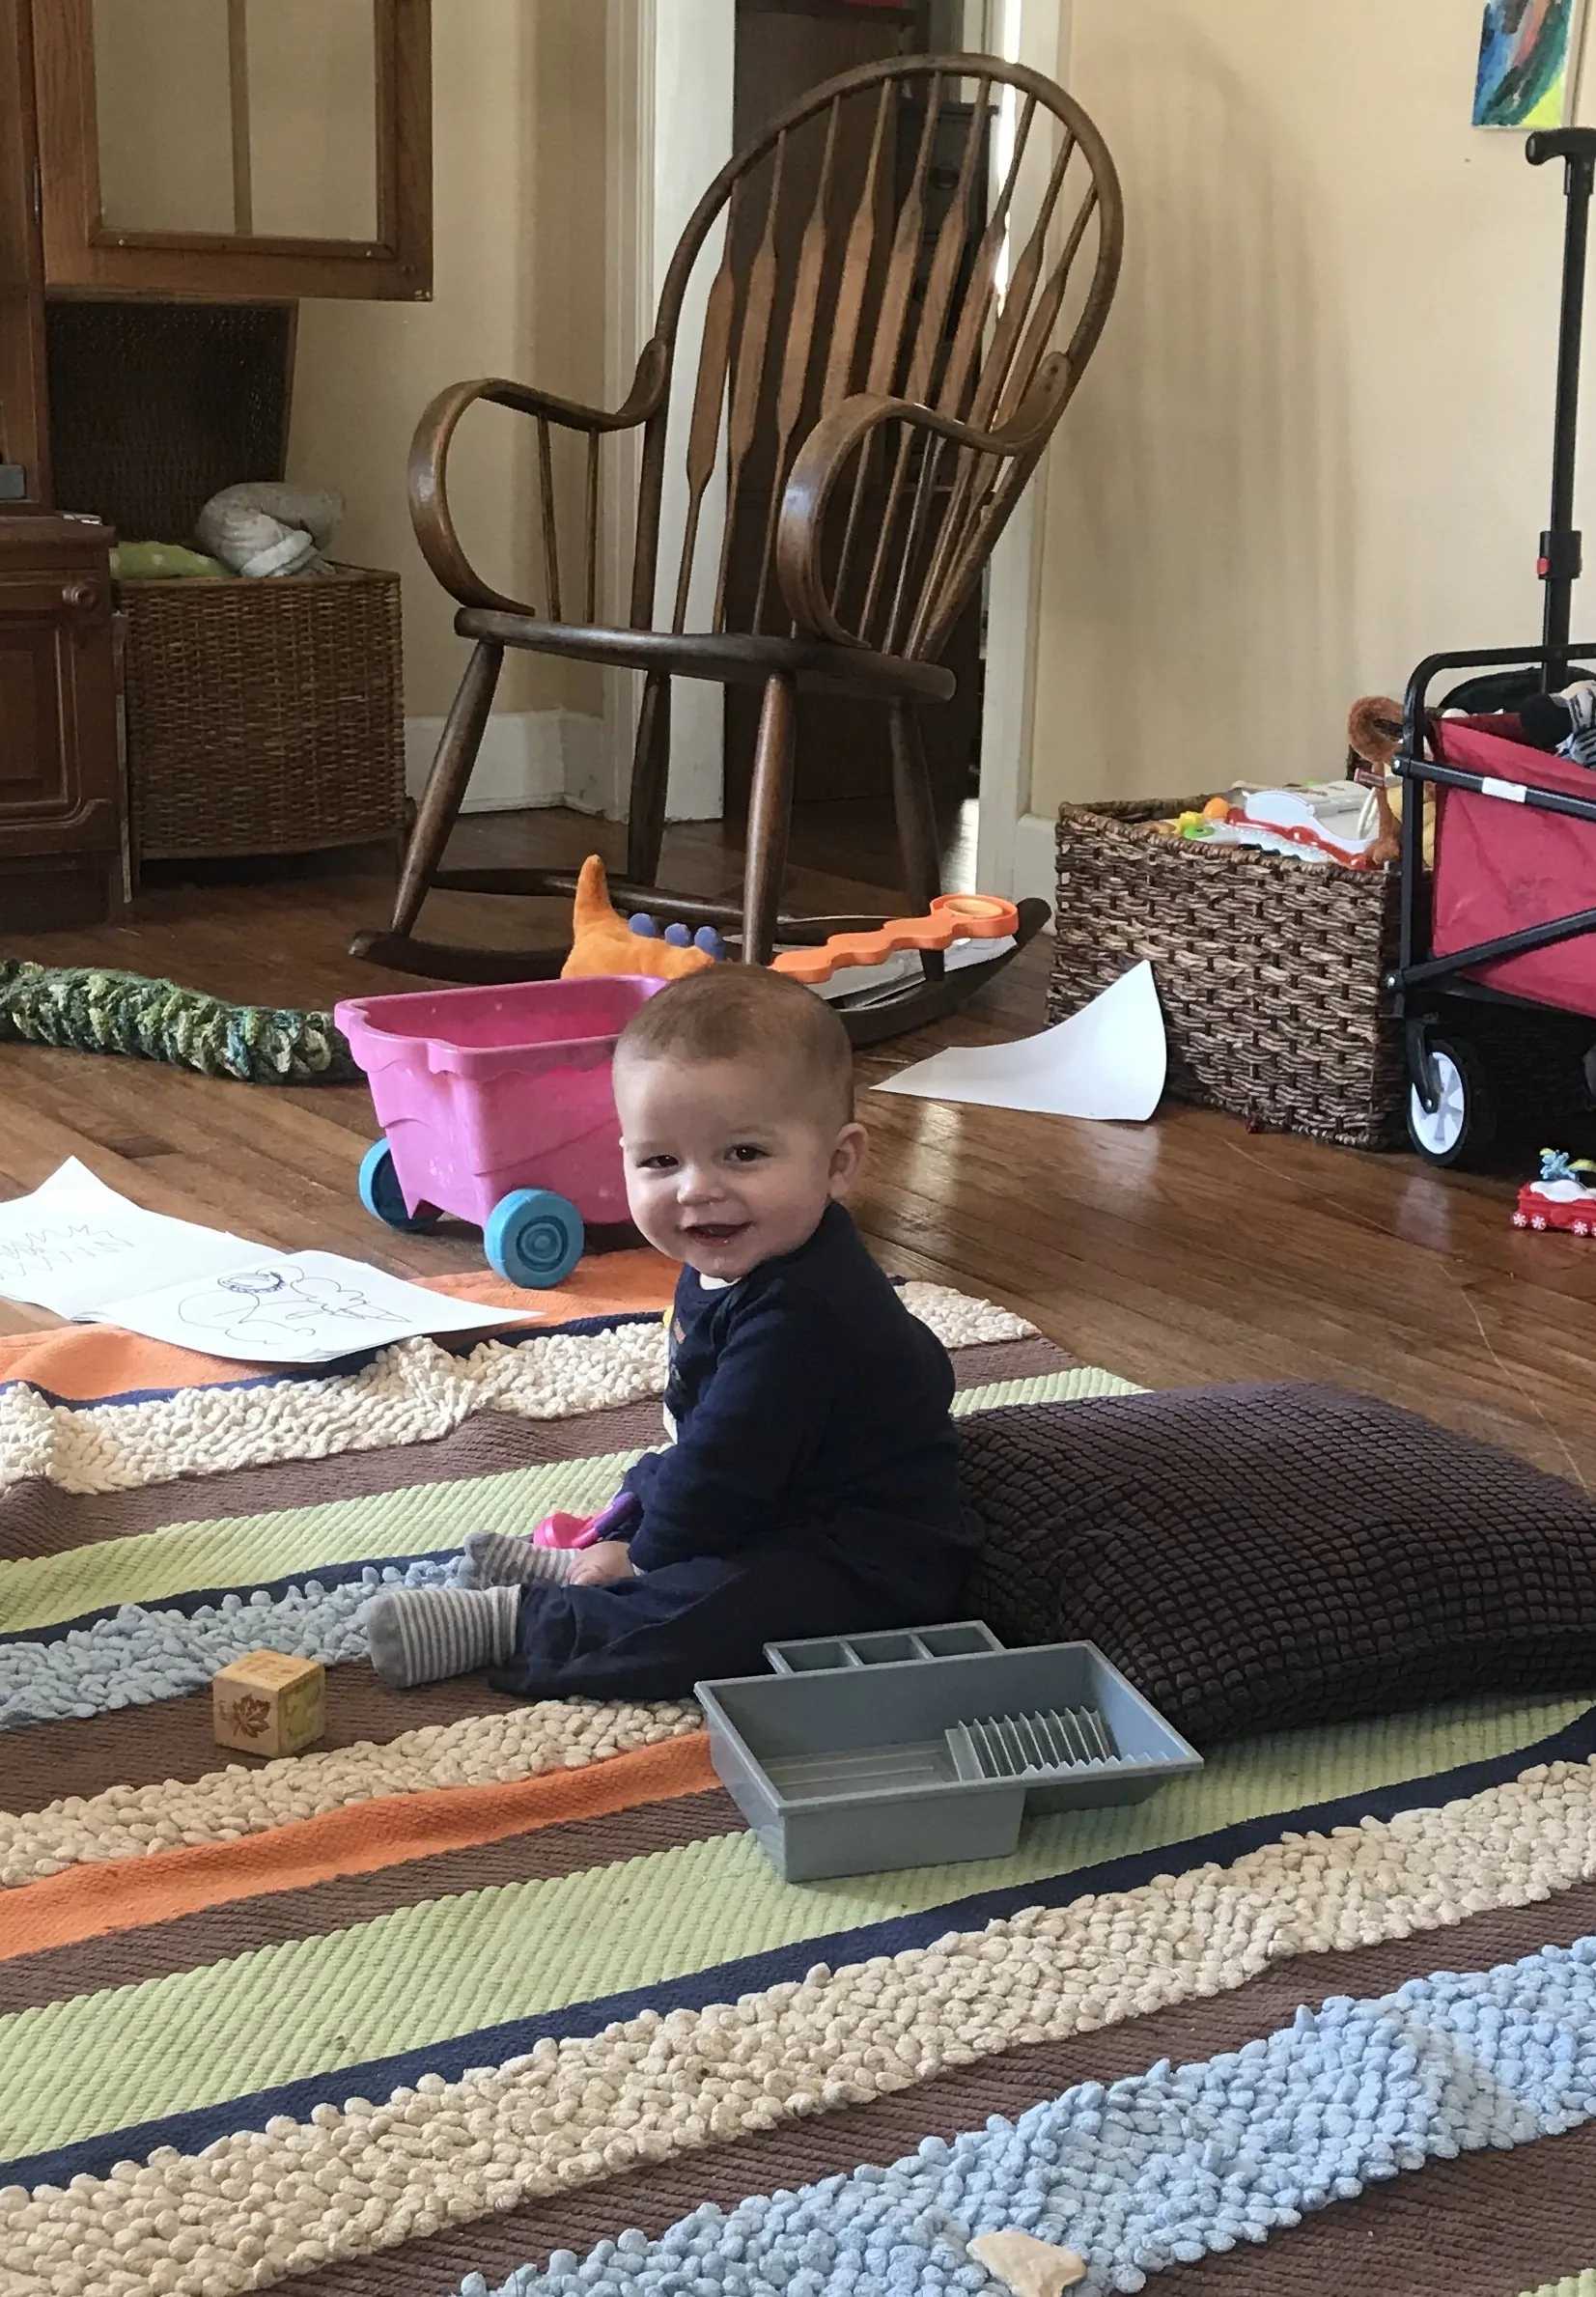
With brightness adjustment
This was a sweet moment when my friend photographed her son using an iPhone. In her living room, she has a dim overhead light and natural light coming from a window and the front door. If you look at the before-and-after with the light adjustment, you can see her baby boy is much more illuminated, and you can really see that sweet smile.
It’s a snap! Easy iPhone tip for shake-free photos.
Thanks for reading!
For more iPhone tips and tricks, please sign up for my newsletter this month! It offers 10 easy tips and hacks to make your iPhone camera work harder for you, as well as other informative content concerning all things photography. I would also love to read in the comments about what you found helpful or any questions you may have about my tips and tricks!